Service Catalogue
Overview
To ease the process of GCP resources setup for users, we have service catalogues available on our AI Innovation Platform where users can easily add GCP services to their projects/workspaces from the platform.
To share an example, let's assume users want to provision a GPU instance hosting Jupyterlab service which can be shared among multiple users and have separate working spaces to maintain development environments. To achieve this, a normal user has to:
- Host the Jupyter service
- Attach it behind a load balancer and
- Secure it using an authentication method on the GCP console
This can be done hassle free using our service catalogue functionality on our platform using just a few clicks which will not only take care of the authentication and Jupyterlab service setup but also take care of other security & cloud best practices like adding tags, labels, no external IPs, etc.
The user has the flexibility to update/change the settings of the instances from the GCP console later on, as they now have access to the GCP console as well.
Service catalogue is an add-on functionality and not a compulsion for our platform. It is a recommended feature for hosting the basic setup required with respect to security and cloud best practices and thereby modified according to user needs. Users can still however add services from GCP console directly onto their projects, if they prefer.
Service catalogue has two main flows in terms of whether the services are to be added to a new project or to be added to an existing project. Below are the details of both flows:
-
New Project: The user needs to add the details for the project like project type, unit name, group name, workstream name etc. Once added, the user can add services (this is optional). Once all details are added, the user can submit the request which will go for approval to admins. Based on the action taken by the admin, the user will be notified about their service addition request. (For more details, check the Request New Project section of this documentation)
Note - A GCS bucket is added by default for marketplace operations. Please do not modify this bucket.
-
Existing Project: For the existing projects, user need to add the services from the project details page and submit it (Refer to the below section for more details on how it can be done). The services will be added directly and users will receive the notification on the status of service addition request.
Provision services using service catalogue
The provision to spin up new resources is provided on the AI Innovation Platform itself, let us talk about how this can be done.
Below are the steps to be followed to add services:
-
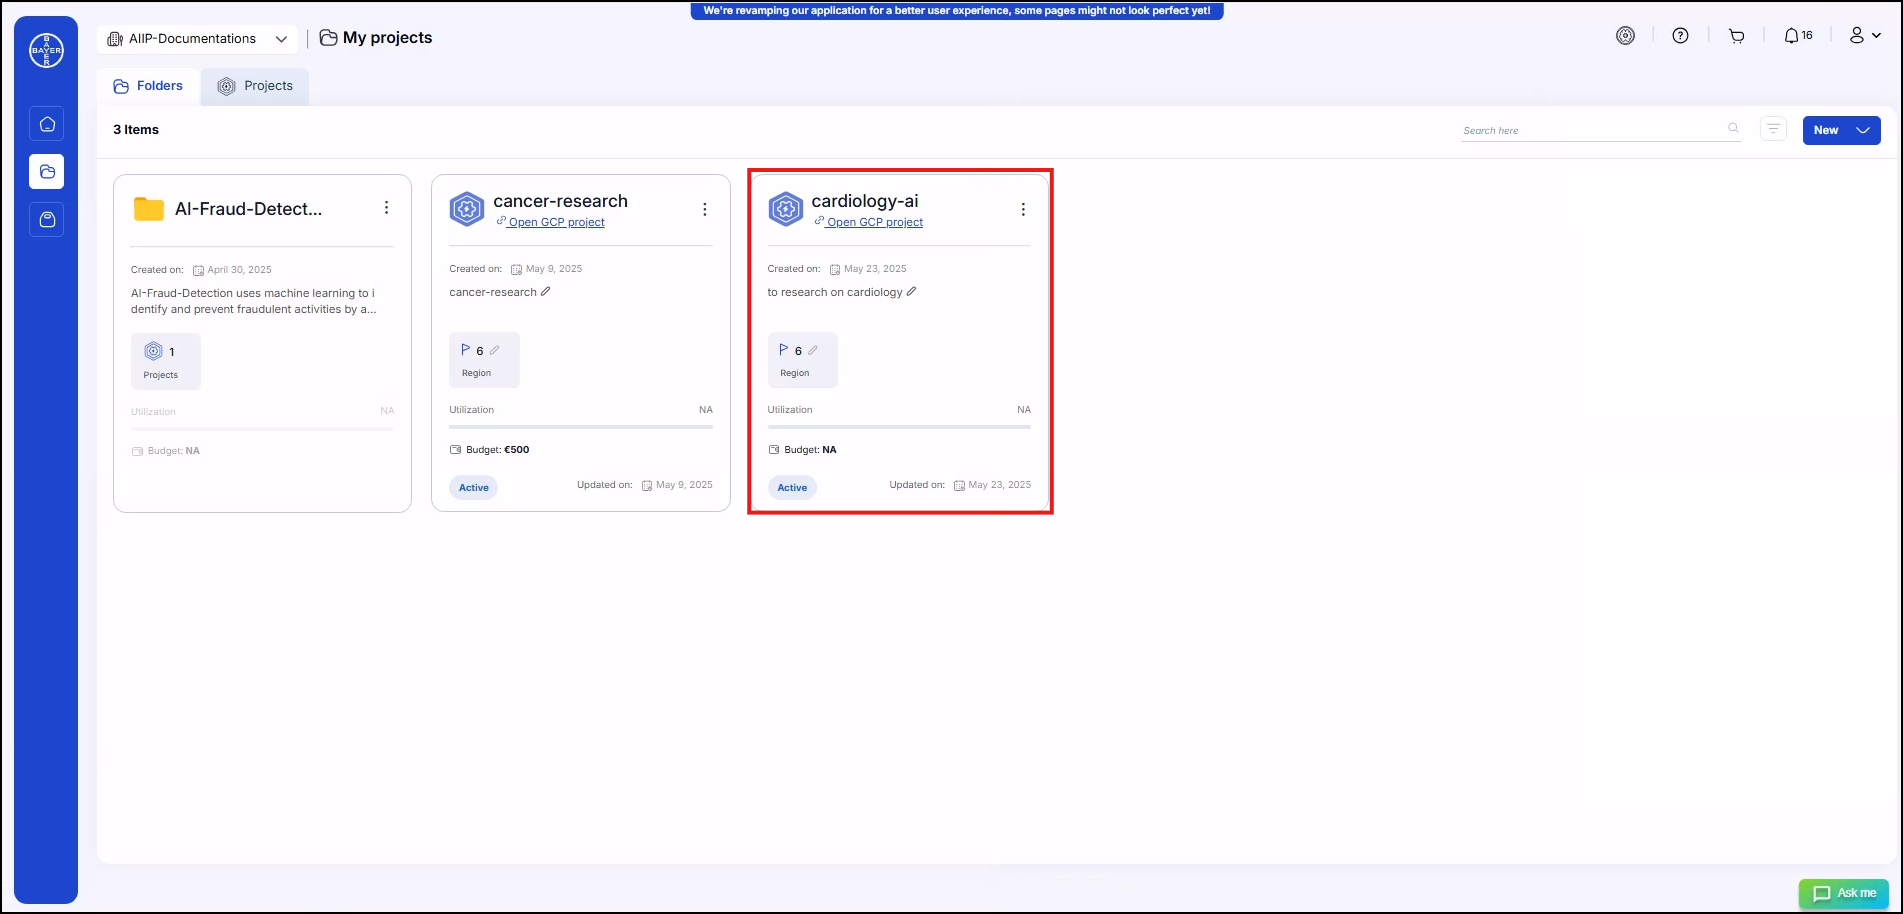
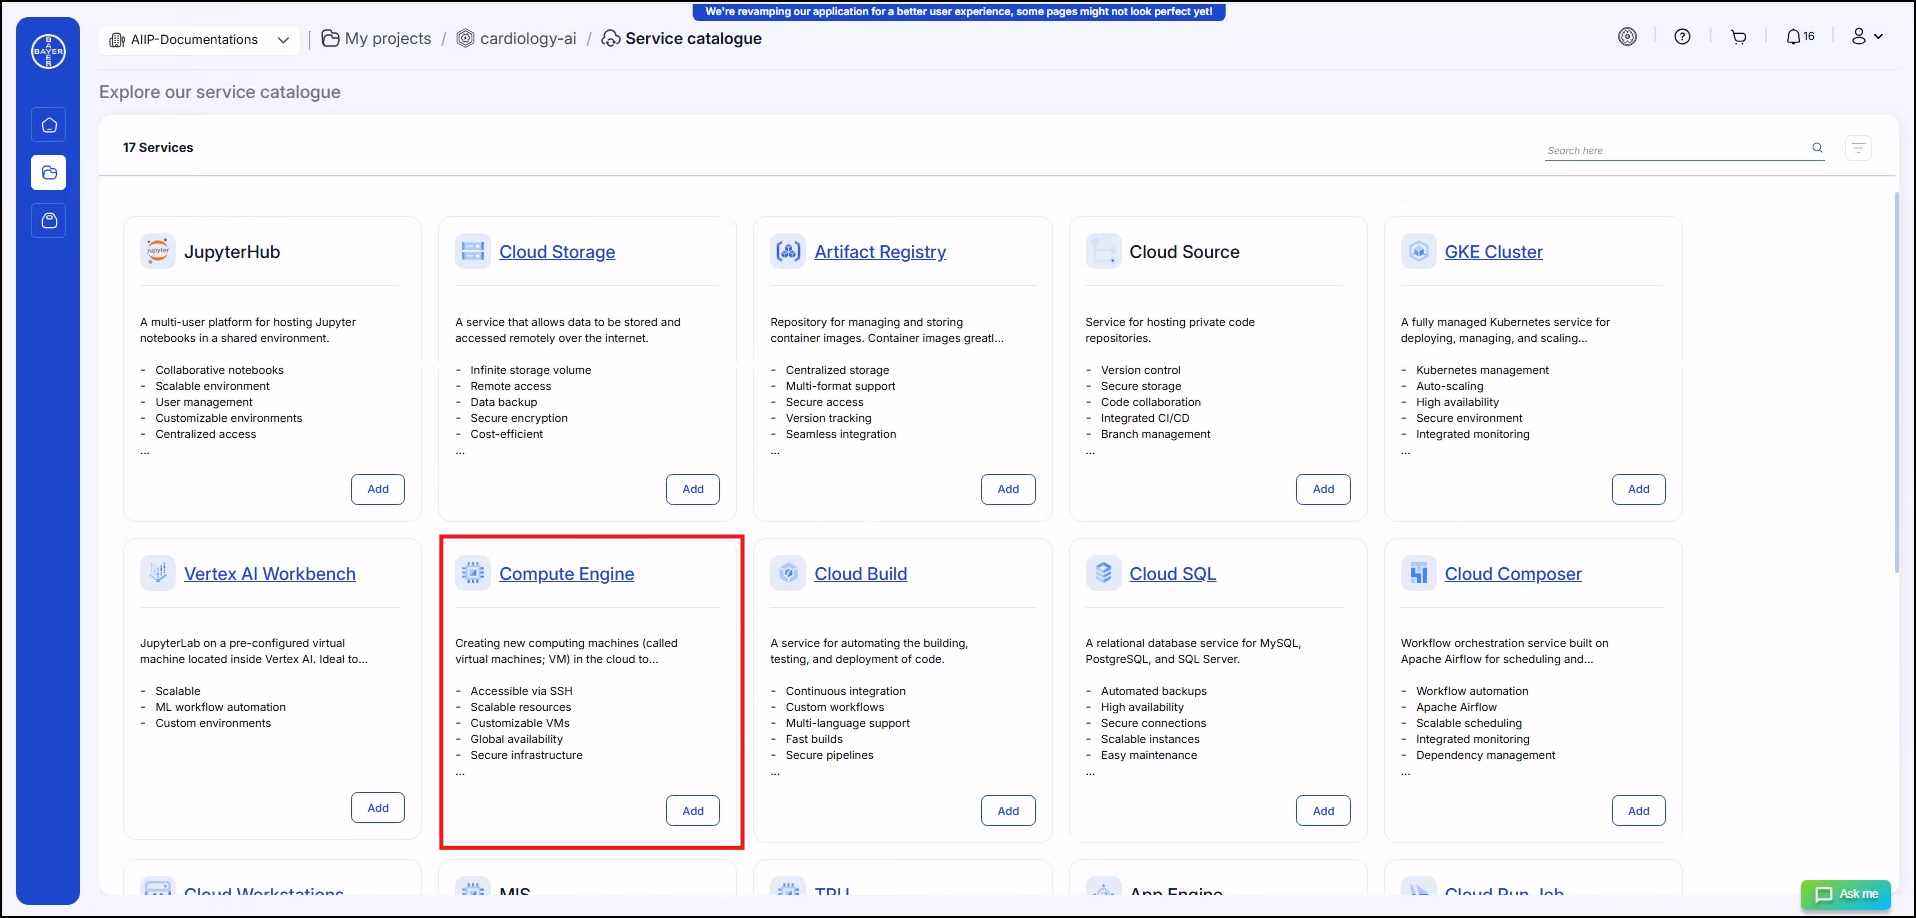
Go to "My Projects" and click on the project for which the services need to be added.
-
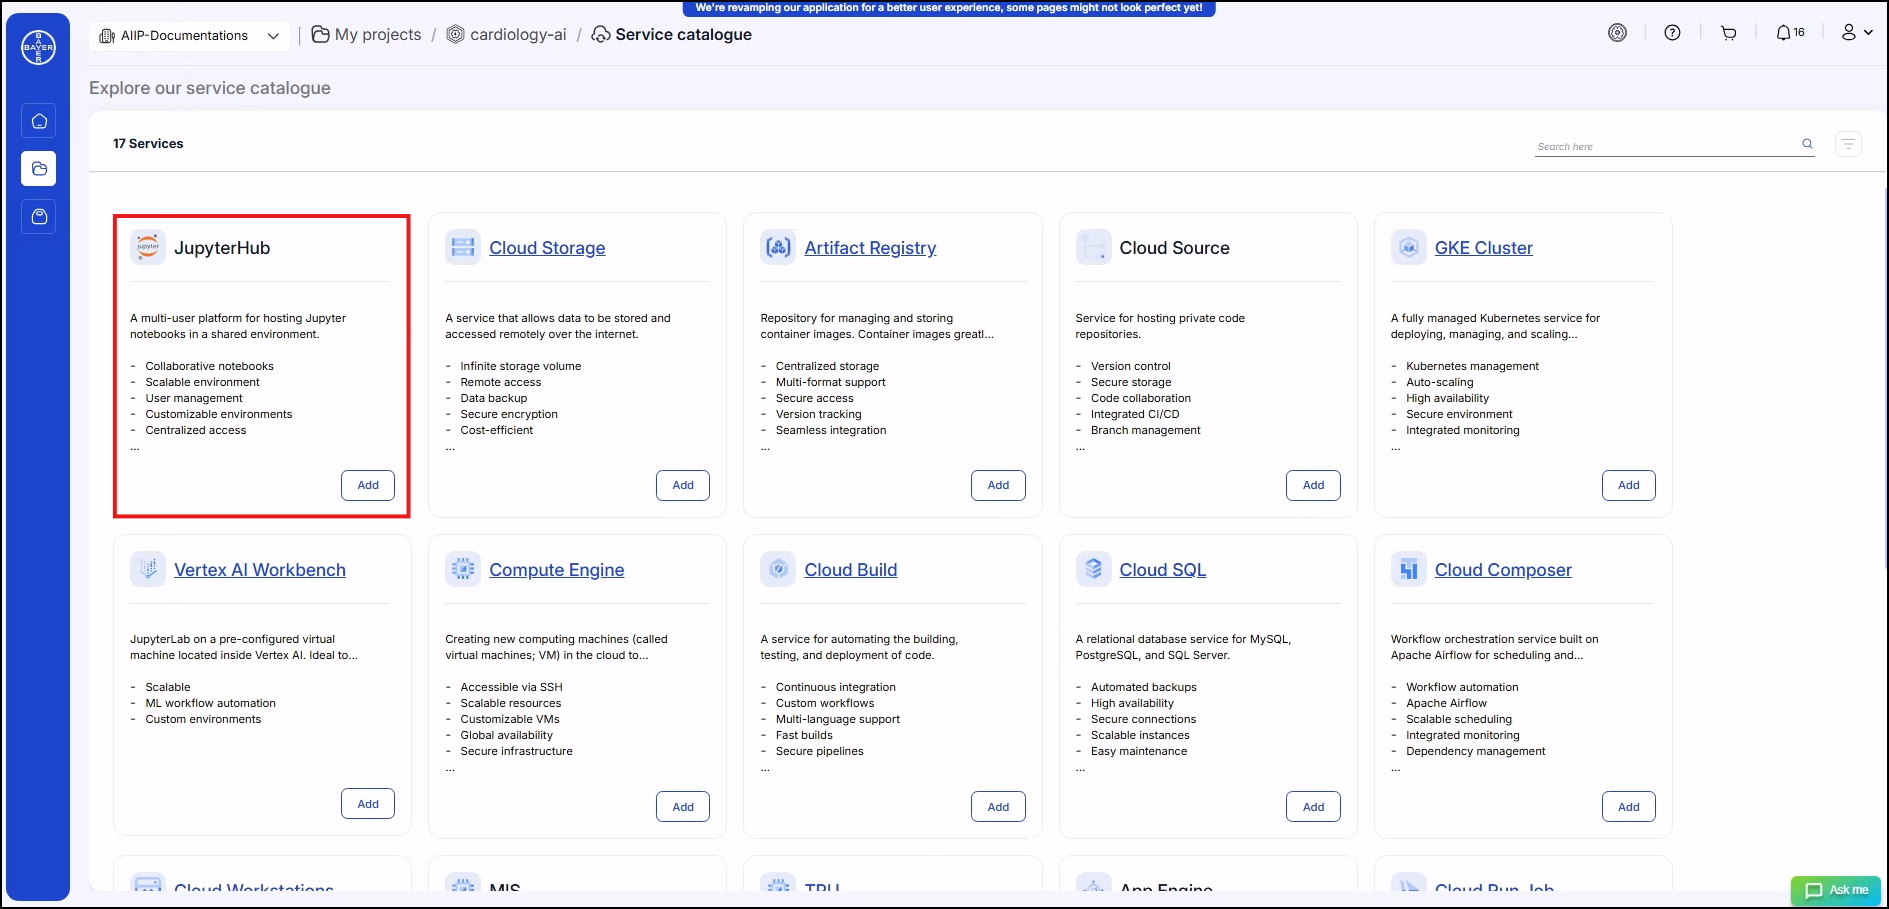
In the details page, by clicking on "Add" under Services more services list be available.

-
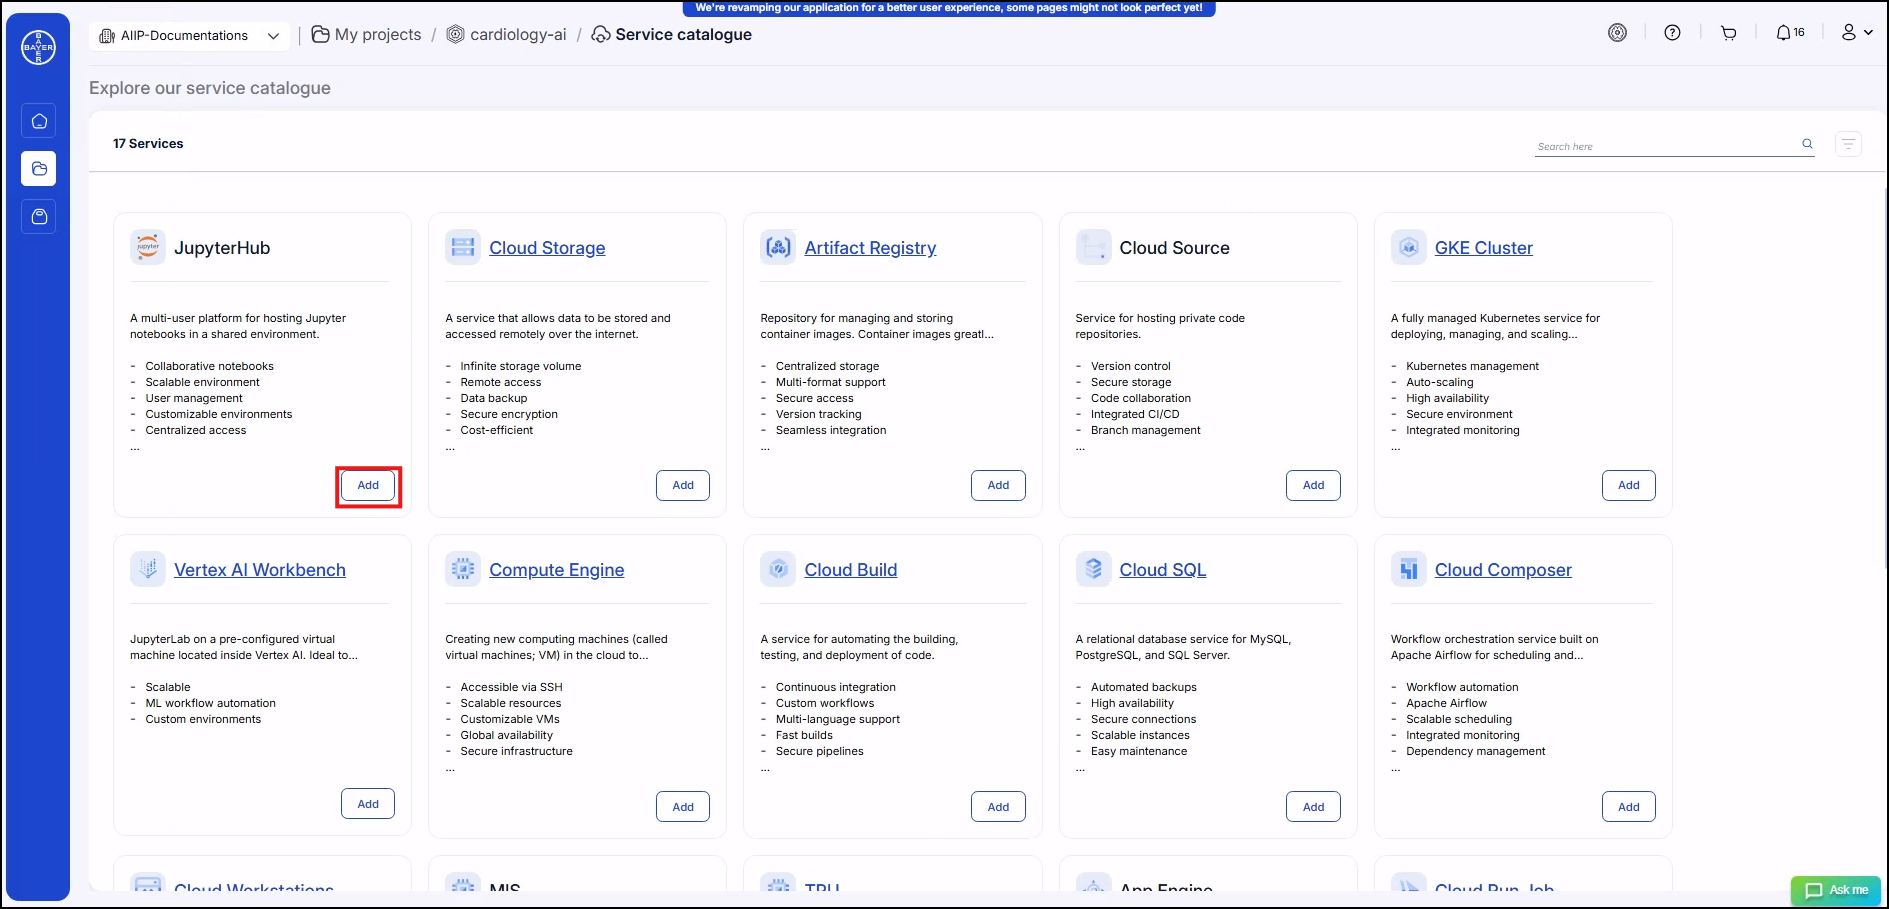
Select the services to be added and click on "Add" to add the service configurations.
-
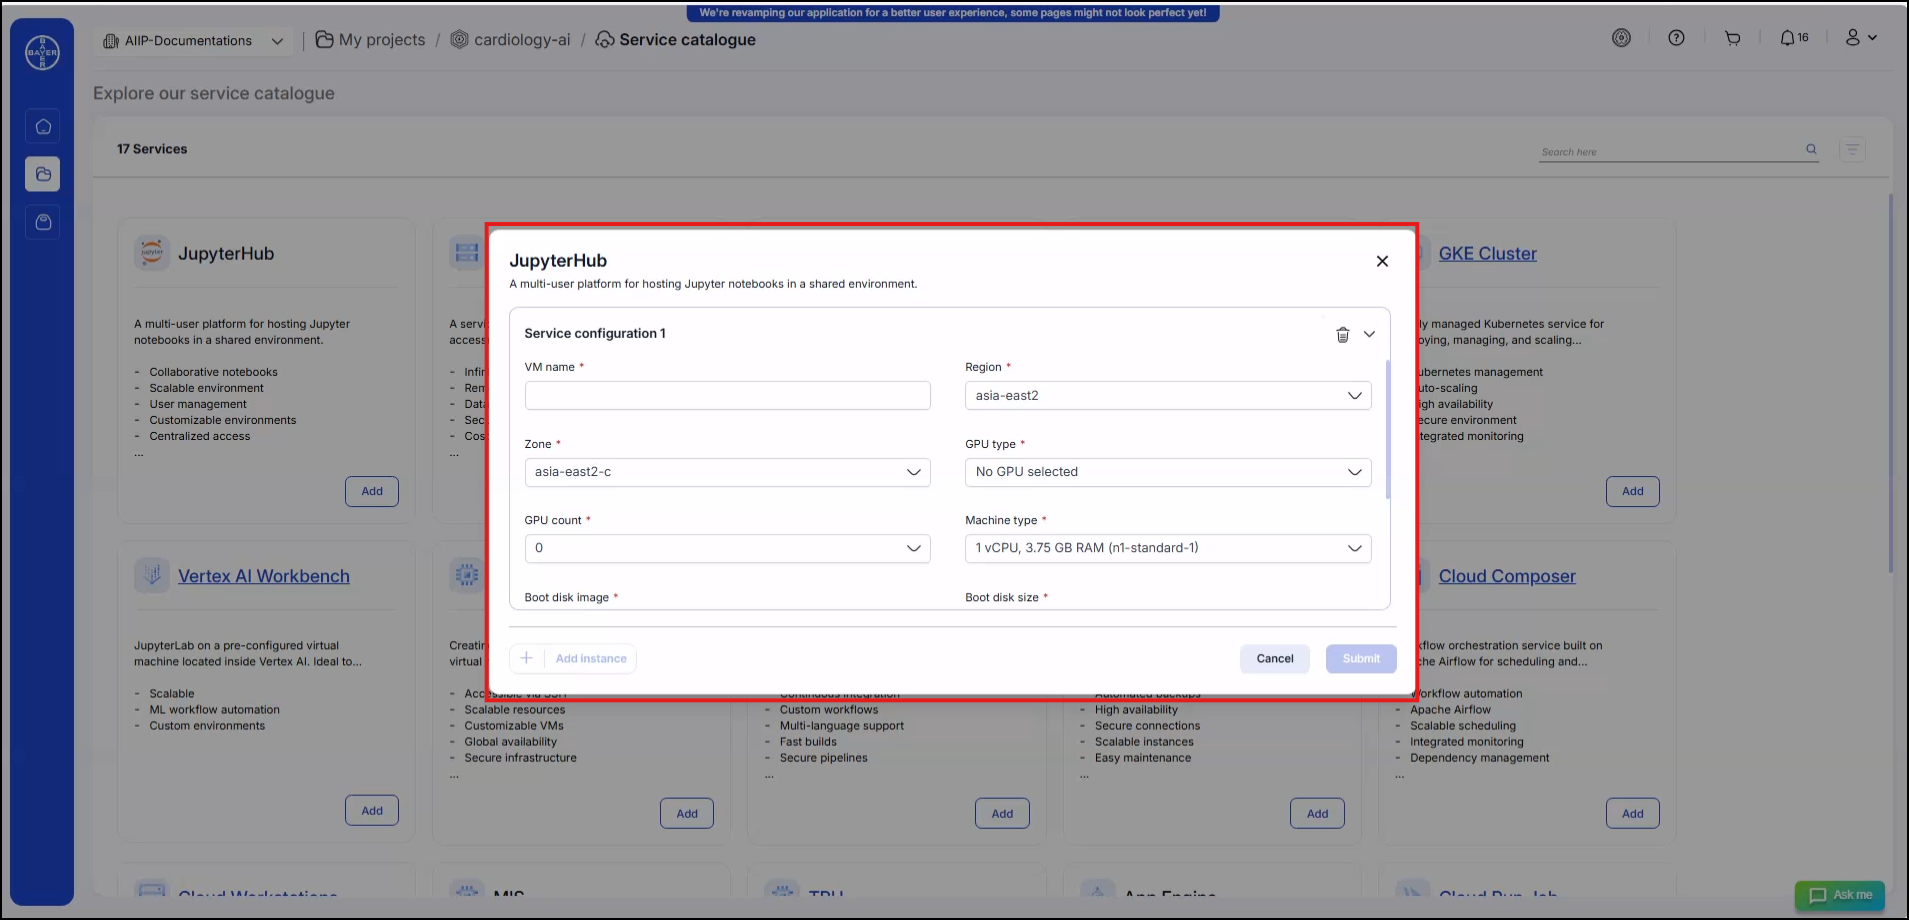
Add the details of the services and click on "Submit". The user will be notified when the services are added.
-
A link of the service will be available on the service name itself as a hyperlink. The users can click on this and can navigate to the GCP console to see these service.

Note - Please note that the services can be added at any state of the project (requested, provisioning, etc) but they will be spun up only when the project is in active state. Also, services addition will not require any approvals from admins.
Available services and their configurations
This section explains the available services and parameters for each of the services part of the service catalogue. It will also help you to understand how you can access these services from the GCP console.
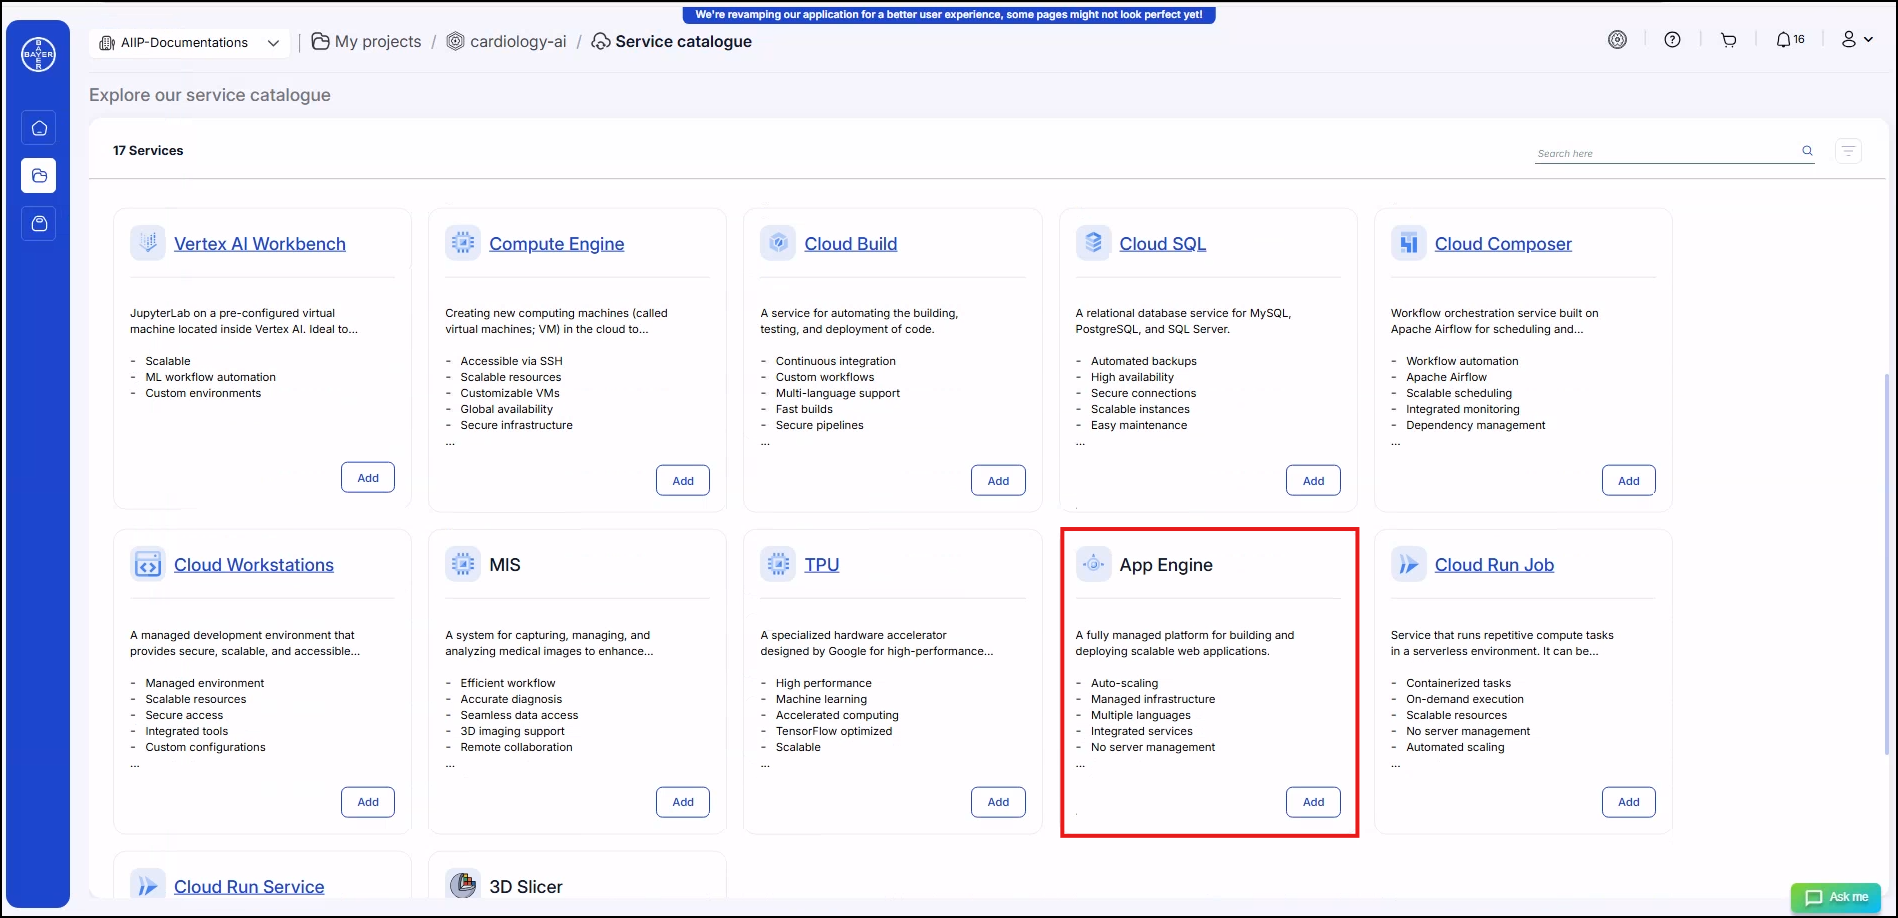
App Engine
A fully managed platform for building and deploying scalable web applications. Google App Engine is a fully managed, serverless platform designed to build and deploy scalable web applications. It abstracts the infrastructure management, allowing developers to focus purely on application development. App Engine automatically handles tasks such as provisioning servers, managing scaling, load balancing and applying updates, making it a powerful solution for building applications that can scale seamlessly based on demand.
- Auto-scaling
- Managed infrastructure
- Multiple languages
- Integrated services
- No server management
- Pay-per-use
- Version control
App Engine Parameters
The following are key parameters that must be configured when creating an App Engine instance:
| Parameter | Description | Mandatory |
|---|---|---|
| App Engine Name | Name of the App Engine service | Yes |
| Region | Region where the App Engine is deployed | Yes |
| CPU | CPU configuration for the App Engine | Yes |
| Memory | Memory allocated for the App Engine | Yes |
| Version ID | Version identifier for the App Engine | Yes |
| Container Image URL | URL of the container image used for deployment | Yes |
| Port | Port number used by the App Engine | Yes |
| Disk Size | Size of the disk allocated to the App Engine (in GB) | Yes |
| Service Account | Service account associated with the App Engine | No |
Default Configurations
-
Runtime Configuration:
- Runtime: The service will be deployed on the App Engine with a customizable runtime environment. By default, the runtime service name for the App Engine application is set to "custom".
-
Scaling Settings:
-
Cooldown Period: A cooldown period of 120 seconds will be applied between scaling operations. This means the system will wait for 120 seconds before attempting to scale up or down, ensuring stable performance and avoiding rapid changes.
-
Target CPU Utilization: The target CPU utilization for automatic scaling is set to 0.5 by default, meaning scaling actions will trigger when CPU usage exceeds or falls below 50%. This helps maintain optimal performance and cost efficiency.
-
-
Traffic Splitting:
- Traffic Management: Using the
google_app_engine_service_split_trafficresource, we will manage and split traffic across different versions of your App Engine service. This allows you to direct a percentage of traffic to different versions without downtime or disruptions. By default 100% traffic is routed to latest version of the application.
- Traffic Management: Using the
Note: Cloud Run is the latest evolution of Google Cloud Serverless, building on the experience of running App Engine for more than a decade. Cloud Run runs on much of the same infrastructure as App Engine standard environment, so there are many similarities between these two platforms. Cloud Run is designed to improve upon the App Engine experience, incorporating many of the best features of both App Engine standard environment and App Engine flexible environment. Hence Cloud Run would be our recommendation instead of using App Engine.
References:
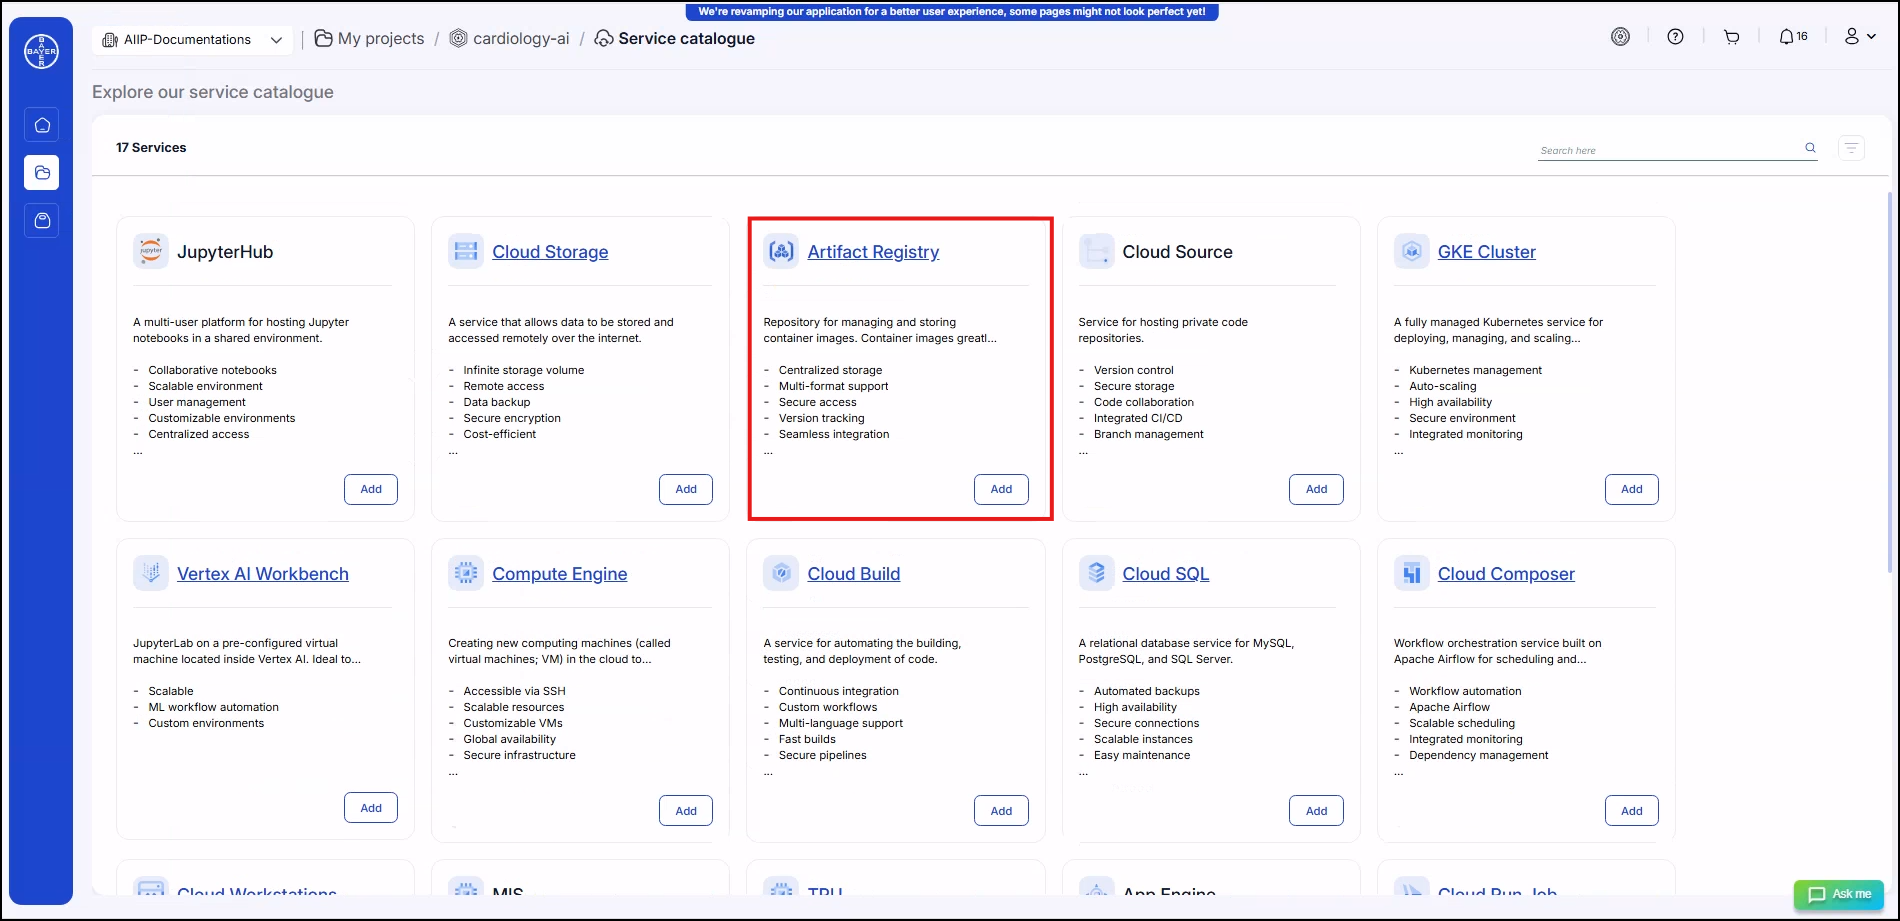
Artifact Registry
Repository for managing and storing container images. Container images greatly increase reproducibility and security in AI development. They are essential for many cloud-based services. Google Cloud's Artifact Registry is a fully managed service that allows you to store, manage and secure your build artifacts, such as container images and dependencies like libraries, packages and binaries. It supports a variety of formats like Docker, Maven and npm and is designed to scale efficiently while ensuring security and reliability. It is a key part of the DevOps lifecycle, helping teams organize and manage artifacts generated during the build process.
- Centralized storage
- Multi-format support
- Secure access
- Version tracking
- Seamless integration
- Dependency management
- Scalable repository
Artifact Registry Parameters
| Parameter | Description | Mandatory |
|---|---|---|
| Artifact Registry Name | Name of the Artifact Registry | Yes |
| Format | Format of the artifacts (e.g., Docker) | Yes |
| Location | Region where the Artifact Registry is located | Yes |
| Customer-managed encryption key (CMEK) | Encryption key managed by the customer | No |
| Cleanup Policy | Policy for cleaning up old or unused artifacts | No |
Default Configurations
-
Enable APIs:
- The Artifact Registry API (
artifactregistry.googleapis.com) is enabled, allowing the service to manage and store container images, libraries, and artifacts effectively. This API is essential for the Artifact Registry to operate within your Google Cloud environment.
- The Artifact Registry API (
-
Cleanup Policy:
- Cleanup Policy Dry Run: By default, the cleanup policy is set to
false, meaning the cleanup pipeline will actively remove old or unused versions of artifacts in the repository to manage storage efficiently. However, if set totrue, the cleanup will run in "dry run" mode, preventing actual deletion of versions and allowing you to review what would be cleaned up before making any changes.
- Cleanup Policy Dry Run: By default, the cleanup policy is set to
References:
Grant Repo specific Permissions ⧉
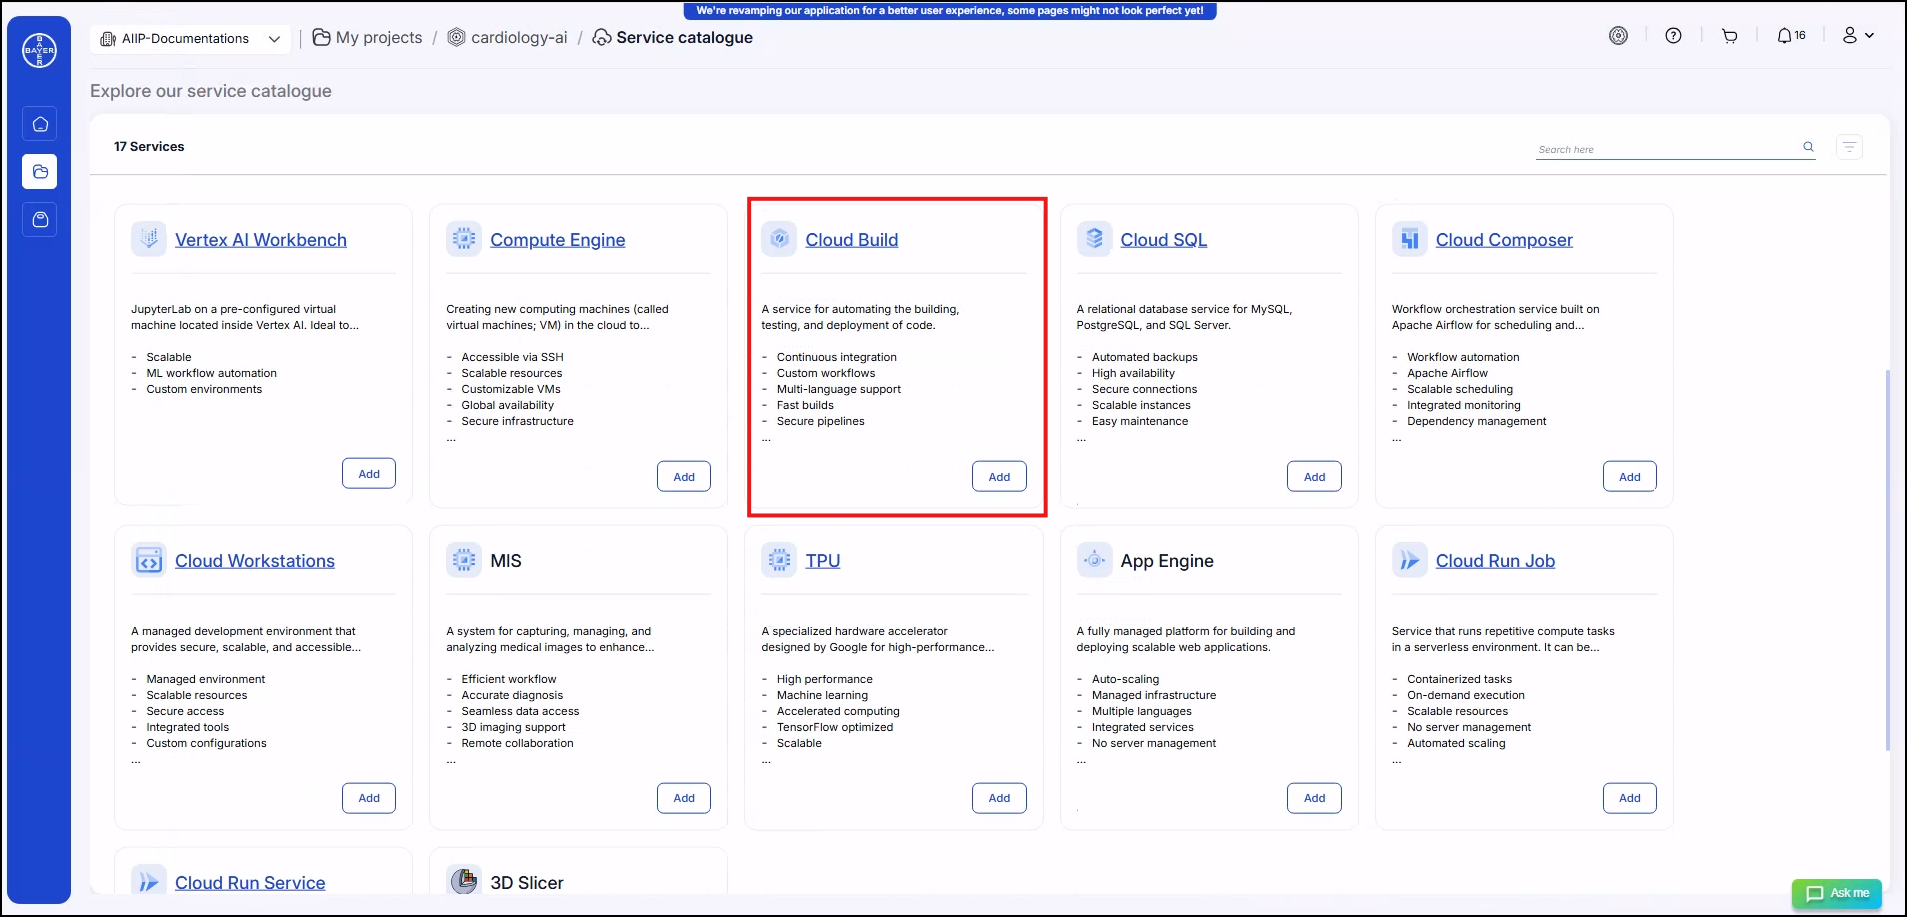
Cloud Build
A service for automating the building, testing and deployment of code. Cloud Build is a service that executes our builds on Google Cloud infrastructure. Cloud Build can import source code from Cloud Storage, GitLab, GitHub, or Bitbucket, execute a build to our specifications and produce artifacts such as Docker containers or Java archives. Cloud Build executes our build as a series of build steps, where each build step is run in a Docker container. A build step can do anything that can be done from a container irrespective of the environment. To perform your tasks, we can either use the supported build steps provided by Cloud Build or write our own build steps.
- Continuous integration
- Custom workflows
- Multi-language support
- Fast builds
- Secure pipelines
- Scalable resources
- Artifact management
Cloud Build Parameters
| Parameter | Description | Mandatory |
|---|---|---|
| Resource Name | Name of the Cloud Build resource | Yes |
| Region | Region where the Cloud Build resource is located | Yes |
| Deploy To | Target location or service for deployment | Yes |
| Container Image URL | URL of the container image used in the build process | Yes |
Default Configurations
-
Pub/Sub Trigger: We configure a Pub/Sub topic that triggers the Cloud Build process. By default, this topic is set to "gcr", meaning that Cloud Build will be triggered by messages published to this topic.
-
Substitution Variables: Substitution variables allow you to pass dynamic values during the build process. For example:
- _ACTION: Represents the action specified in the incoming Pub/Sub message (e.g., a build, tag, or deploy action).
- _IMAGE_TAG: Captures the image tag provided in the Pub/Sub message, ensuring the correct image version is used during the build process. User can update the build pipeline according to their container image if required.
-
Filter:
By default, the filter is set to match on the image tag (
_IMAGE_TAG.matches("")), but you can modify it to include more specific conditions based on your needs. The default settings ensures an automated deployment of new version of images as an when pushed to artifact registry. -
Build Step Image:
The Gcloud image used during the build process is defined as
"gcr.io/cloud-builders/gcloud". This image contains the necessary tools to execute Google Cloud commands, including managing Cloud Run services and jobs. -
Logging Options:
Logging options determine where Cloud Build logs are stored. The default setting is
"CLOUD_LOGGING_ONLY", ensuring all logs are sent to Google Cloud Logging for easy monitoring and troubleshooting. -
Build Timeout:
The timeout for the Cloud Build process is set to 540 seconds. If the build exceeds this time, it will be automatically terminated. This can be adjusted if longer build times are required for your specific workloads.
-
Labels:
Labels help organize and track your build resources. These labels can be applied to the virtual machines (VMs) that are created as part of the Cloud Build process, making it easier to manage and classify resources. You can specify custom labels such as project ownership, data classification, and more.
-
Custom Roles for Cloud Build:
A custom role called "Cloud Run Deployer" is configured with a set of permissions required to manage Cloud Run services and jobs. This role includes capabilities like:
-
Updating jobs, listing locations, managing revisions, accessing services, and creating logs.
-
Acting as a service account, allowing Cloud Build to securely interact with other Google Cloud services.
-
References:
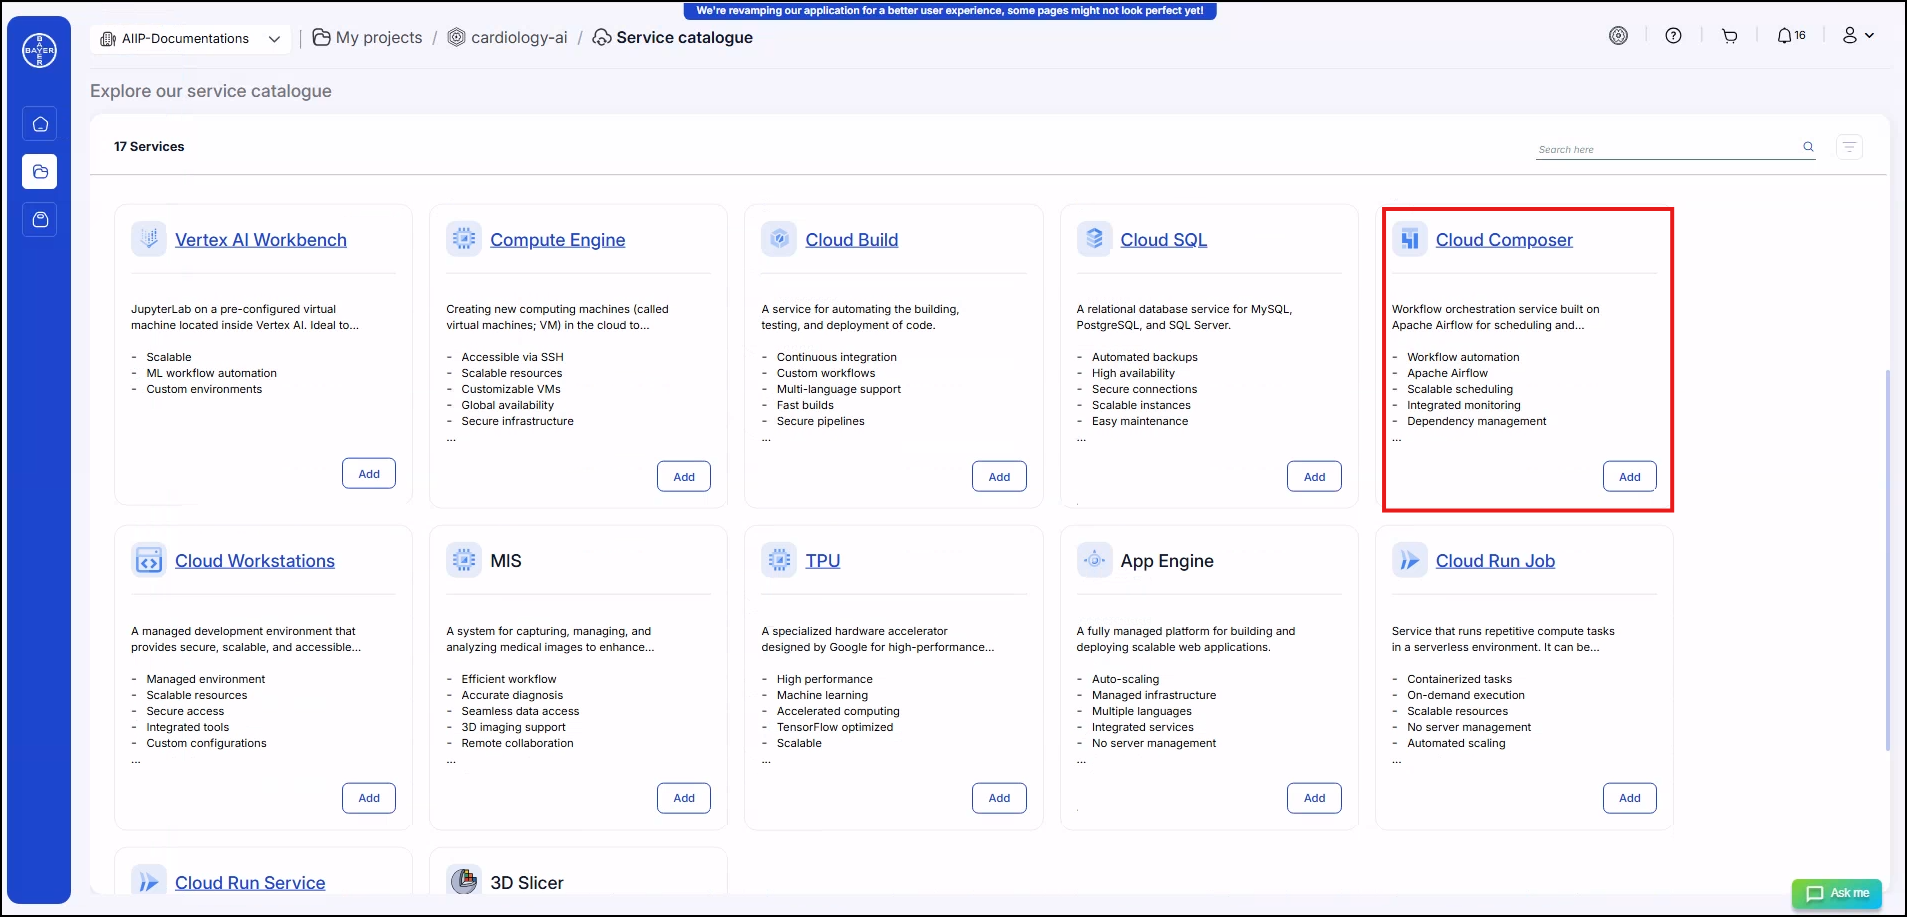
Cloud Composer
Workflow orchestration service built on Apache Airflow for scheduling and managing chains of jobs/functionalities. Cloud Composer is a fully managed workflow orchestration service built on Apache Airflow. It allows you to create, schedule, monitor and manage workflows, simplifying the automation of tasks across cloud services and on-premises systems. Composer integrates seamlessly with other Google Cloud services and provides automation for environment setup, letting you focus on your workflows rather than infrastructure management.
- Workflow automation
- Apache Airflow
- Scalable scheduling
- Integrated monitoring
- Dependency management
- Custom workflows
- Easy scaling
Cloud Composer Parameters
| Parameter | Description | Mandatory |
|---|---|---|
| Cloud Composer Cluster Name | Name of the Cloud Composer cluster | Yes |
| Region | Region where the Cloud Composer cluster is located | Yes |
| Resilience Mode | Mode of resilience for the Cloud Composer | Yes |
| IP Range Pods | IP range for the pods in the environment | No |
| IP Range Services | IP range for the services in the environment | No |
| Environment Size | Size of the environment (e.g., small, medium, large) | Yes |
| Service Account | Service account associated with the Cloud Composer | No |
| Customer-managed encryption key (CMEK) | Encryption key managed by the customer | No |
Default Configurations
-
IAM roles for Cloud Composer:
- Composer Worker Role: This assigns the roles/composer.worker role to a service account, allowing it to perform tasks required for the Cloud Composer environment.
-
Workload configurations: The environment's workload configurations vary based on the size of the environment (small, medium, large). These configurations dictate the amount of CPU, memory, and storage allocated for different components like:
- Scheduler: Manages the orchestration of tasks.
- Web Server: Provides the UI for managing workflows.
- Worker: Executes the actual tasks.
- Triggerer: Handles external triggers for workflows. These configurations ensure that your environment is optimized based on your operational needs.
-
Private environment:
- Private service connect: This ensures the environment uses a private connection type for enhanced security by enabling private endpoints and connecting through a private subnetwork.
-
Dynamic workloads: The Composer environment dynamically adjusts its resources based on workload size using the configurations provided. This makes it flexible to scale with your operational requirements.
-
Node configuration: The environment nodes are configured with custom networking, including private IP allocation, subnetwork configuration, and optional encryption settings using a KMS key.
-
Resilience mode: The Composer environment can be set to different resilience levels to ensure high availability and fault tolerance, enhancing the reliability of your workflows.
References:
Cloud Run Job
Service that runs repetitive compute tasks in a serverless environment. It can be reached from any machine in the project and is great for centralising certain functionalities (i.e. data conversion) within the development project. Cloud Run is a managed compute platform that enables you to run containers that are invocable via requests or events. Cloud Run is serverless: it abstracts away all infrastructure management, so we can focus on what matters most — building great applications. A service that allows you to run a container to completion without a server. This service only run its own tasks and exits when it is finished.
- Containerized tasks
- On-demand execution
- Scalable resources
- No server management
- Automated scaling
- Event-driven
- Pay-per-use

Cloud Run Parameters
| Parameter | Description | Mandatory |
|---|---|---|
| Job Name | Name of the Cloud Run Job | Yes |
| Region | Region where the job will be executed | Yes |
| No of Tasks | Number of tasks to run in the job | Yes |
| CPU | CPU allocation for each task | Yes |
| Memory | Memory allocation for each task | Yes |
| Service Account | Service account associated with the job | No |
| Container Image URL | URL of the container image used for the job | Yes |
| Parallelism | Number of tasks to run in parallel | Yes |
| Task Timeout | Timeout for each task | Yes |
| Time Unit | Unit of time for the task timeout (e.g., seconds, minutes) | Yes |
Default Configurations
- Variables:
- max_retries: Defines the maximum number of retries allowed for the job in case of failures. The default value is set to 3.
- command: Specifies the command to be run inside the container. The default value is null, meaning no specific command is set by default, and the container will use its own startup process.
References:
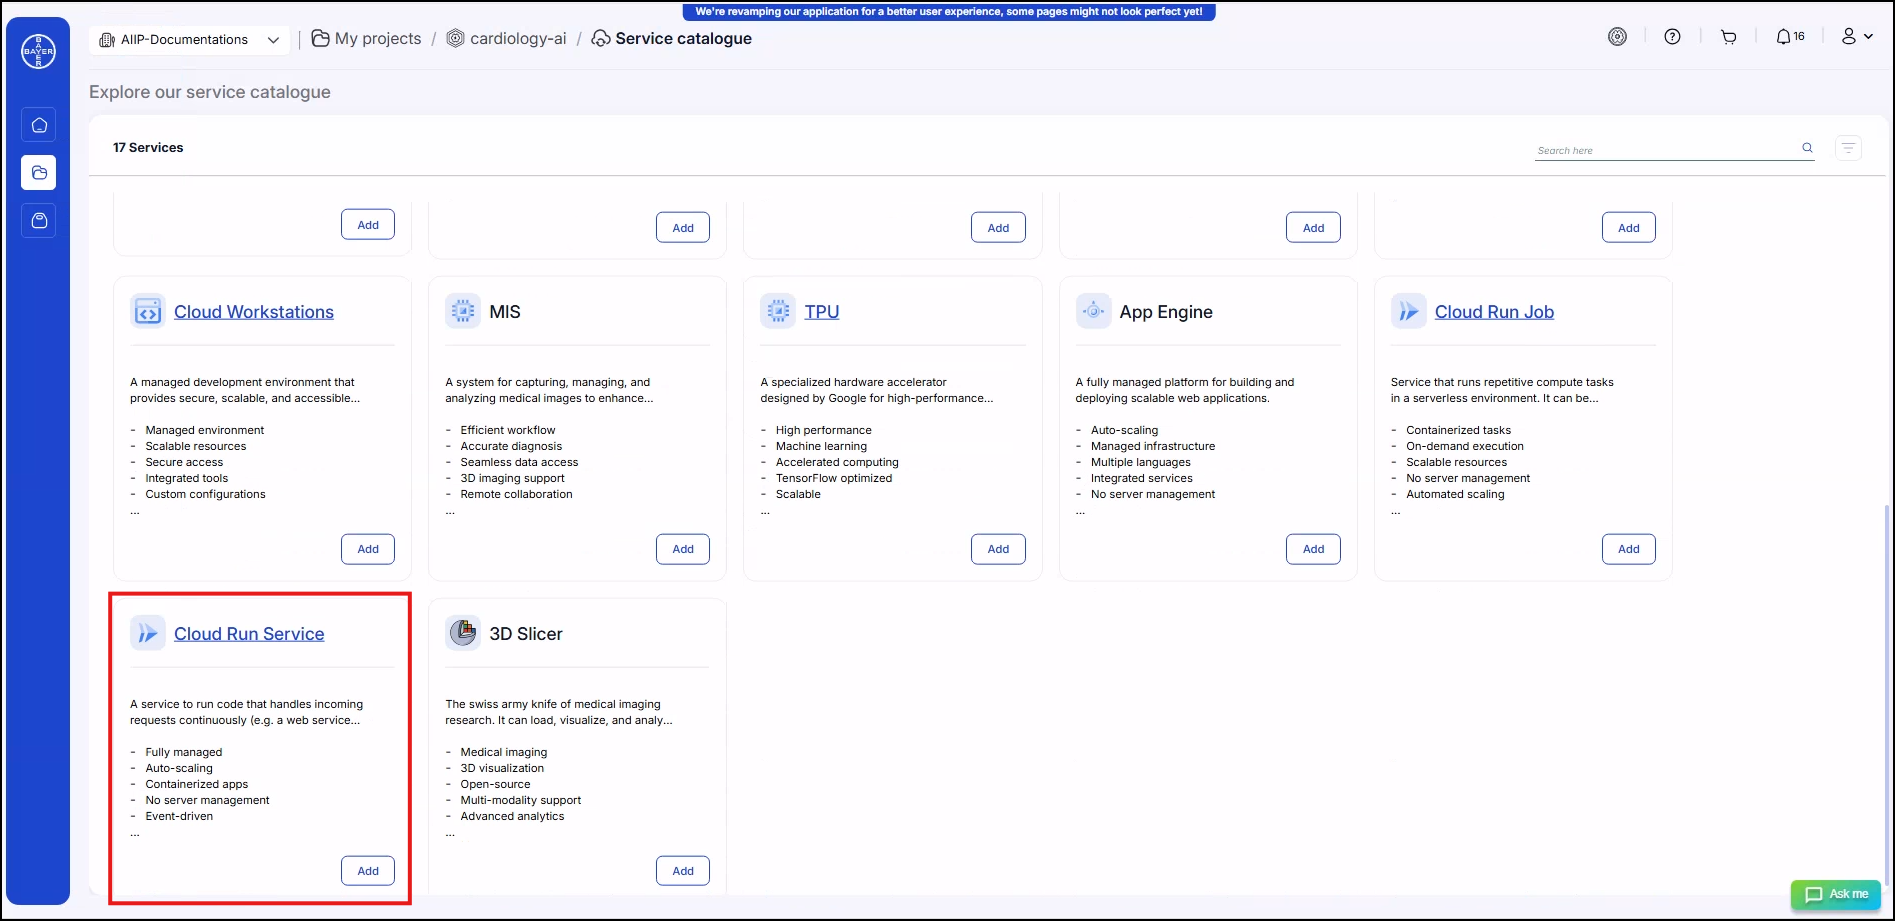
Cloud Run Service
A service to run code that handles incoming requests continuously (eg. a web service). Different to Cloud Run Job, that executes each job based on a trigger.
- Fully managed
- Auto-scaling
- Containerized apps
- No server management
- Event-driven
- Pay-per-use
- Fast deployment
Cloud Run Services Parameters
| Parameter | Description | Mandatory |
|---|---|---|
| Cloud Run Name | Name of the Cloud Run service | Yes |
| Region | Region where the Cloud Run service is located | Yes |
| CPU | CPU allocation for the service | Yes |
| Memory | Memory allocation for the service | Yes |
| Container Image URL | URL of the container image used for the service | Yes |
| Port | Port number used by the Cloud Run service | Yes |
| Service Account | Service account associated with the service | No |
Default Configurations
-
Module: Serverless Load Balancer
The
serverless_loadbalancermodule is configured to enable the seamless integration of a load balancer with the Cloud Run service. This ensures that incoming traffic is efficiently distributed across multiple instances, improving the availability and reliability of the service. -
Security Policy :
The
security_policyvariable is used to apply a Cloud Armor Security Policy to the Cloud Run service. Cloud Armor helps protect applications from security threats like DDoS attacks. The default value is set to an empty string, meaning no specific policy is enforced unless provided.
References:
Cloud Run Service Overview ⧉
Host Cloud Run Service behind Load Balancer
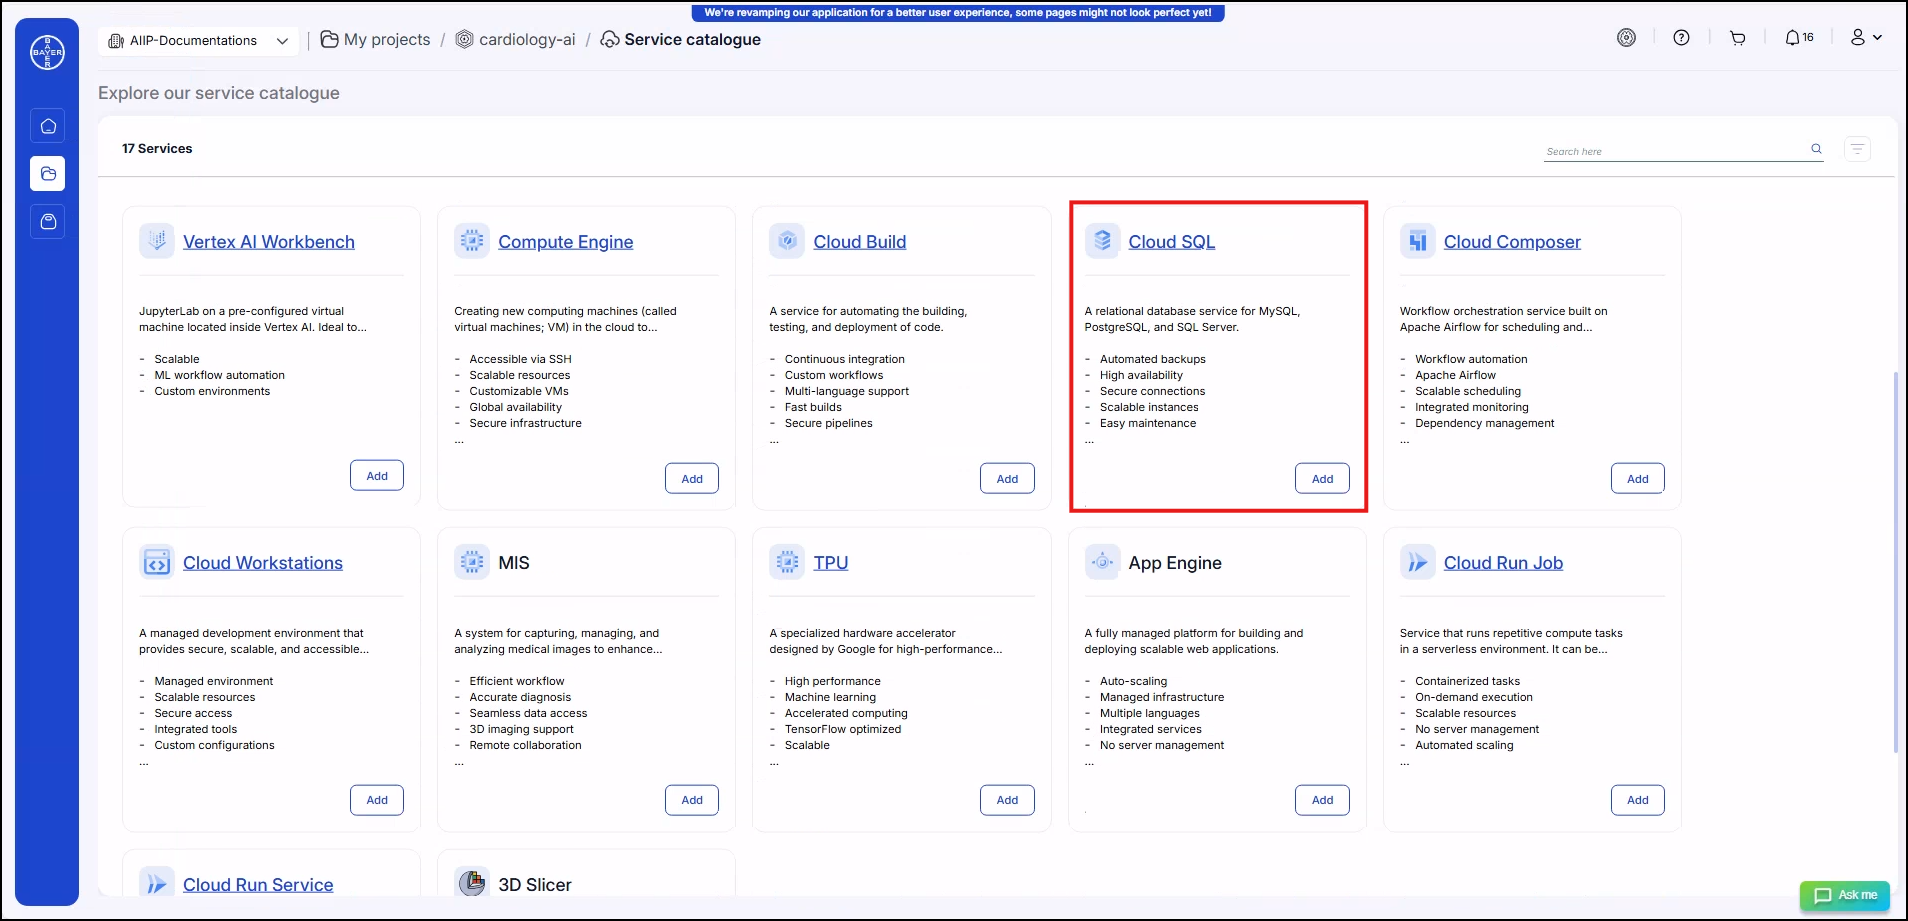
Cloud SQL
A relational database service for MySQL, PostgreSQL and SQL Server. Cloud SQL is a fully-managed database service that helps us set up, maintain, manage and administer our relational databases on Google Cloud Platform.
- Automated backups
- High availability
- Secure connections
- Scalable instances
- Easy maintenance
- Integrated monitoring
Cloud SQL Parameters
| Parameter | Description | Mandatory |
|---|---|---|
| Cloud SQL Name | Name of the Cloud SQL instance | Yes |
| Region | Region where the Cloud SQL instance is located | Yes |
| Database Version | Version of the database | Yes |
| Edition | Edition of the database (e.g., Enterprise) | Yes |
| Database Name | Name of the database | Yes |
| Username | Username for accessing the database | Yes |
| Tier | Tier of the Cloud SQL instance (e.g., db-f1-micro) | Yes |
| Backup Location | Location for database backups | Yes |
| Disk Size | Size of the disk (in GB) | Yes |
| Disk Type | Type of disk (e.g., SSD, HDD) | Yes |
Default Configurations
-
Database Flags: We’ve introduced database-specific flags to enhance the configuration of various database engines:
-
PostgreSQL:
log_duration: Enables logging of the duration of each statement.pgaudit.log: Logs all activities for audit purposes.log_hostname: Logs the hostname of the client connecting to the instance.log_checkpoints: Enables checkpoint logging.
-
MySQL:
general_log: Enables logging of general queries for troubleshooting.skip_show_database: Restricts theSHOW DATABASEcommand to authorized users.wait_timeout: Sets the wait timeout to manage inactive connections.
-
SQL Server:
1204: Enables deadlock logging.remote_access: Allows remote connections to the SQL server.remote_query_timeout: Configures the timeout for remote queries to 300 seconds.
-
-
Private Network Configuration:
- private_network_url : This variable specifies the private network URL for securely connecting to the Cloud SQL instance within your network.
-
Maintenance Window: To minimize downtime, the maintenance window is configured as follows:
- Day: Sunday
- Hour: Midnight (UTC)
- Update Track: Set to "stable" to receive stable updates.
-
SSL Certificate Management: We’ve automated the management of SSL certificates for secure communication:
- Client Certificate: SSL certificates are created and managed for each SQL instance using Google Secret Manager to ensure encrypted communication.
- Password Management: Random, complex passwords are generated and securely stored using Secret Manager.
- Secret Storage: All sensitive information, including certificates and credentials, is stored in Secret Manager for added security.
References:
Cloud SQL Overview ⧉
Connect to Cloud SQL from GKE
Connect to SQL from Cloud Run
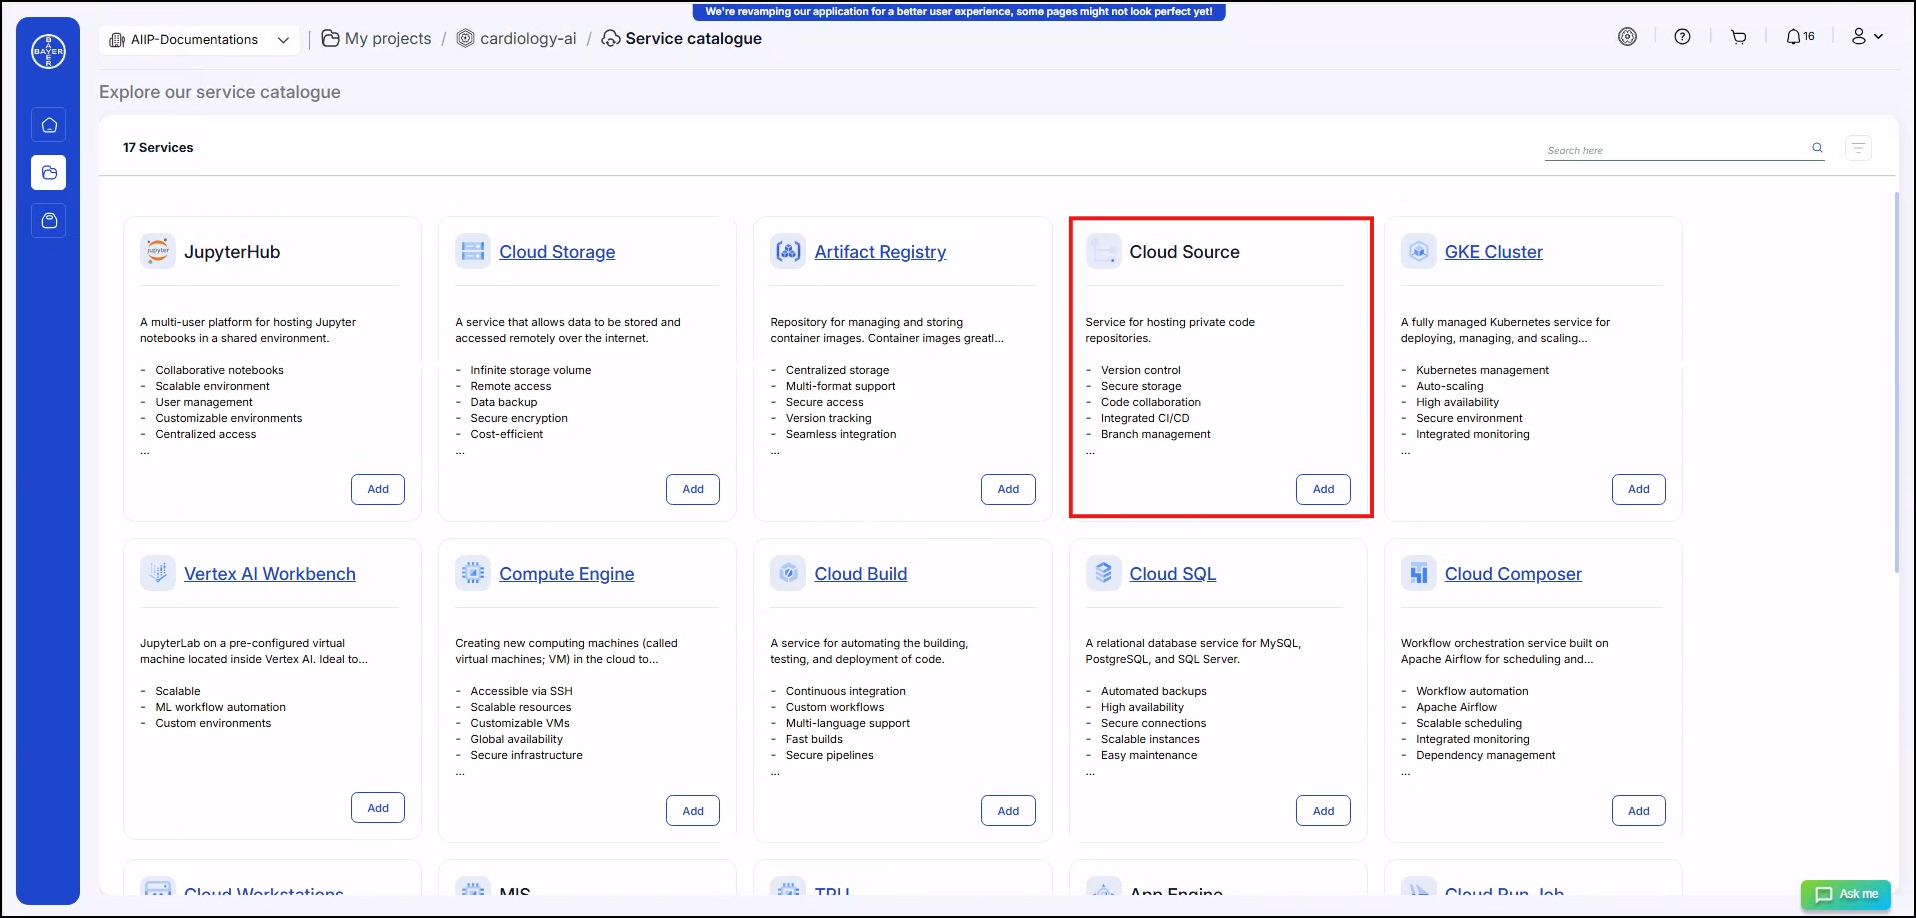
Cloud Source
Service for hosting private code repositories. Cloud Source Repositories are fully featured, private Git repositories hosted on Google Cloud.
- Version control
- Secure storage
- Code collaboration
- Integrated CI/CD
- Branch management
- Access control
- Scalable hosting
Cloud Source Parameters
| Parameter | Description | Mandatory |
|---|---|---|
| Repository Name | Name of the Cloud Source repository | Yes |
Default Configurations:
No default configurations have been implemented.
References:
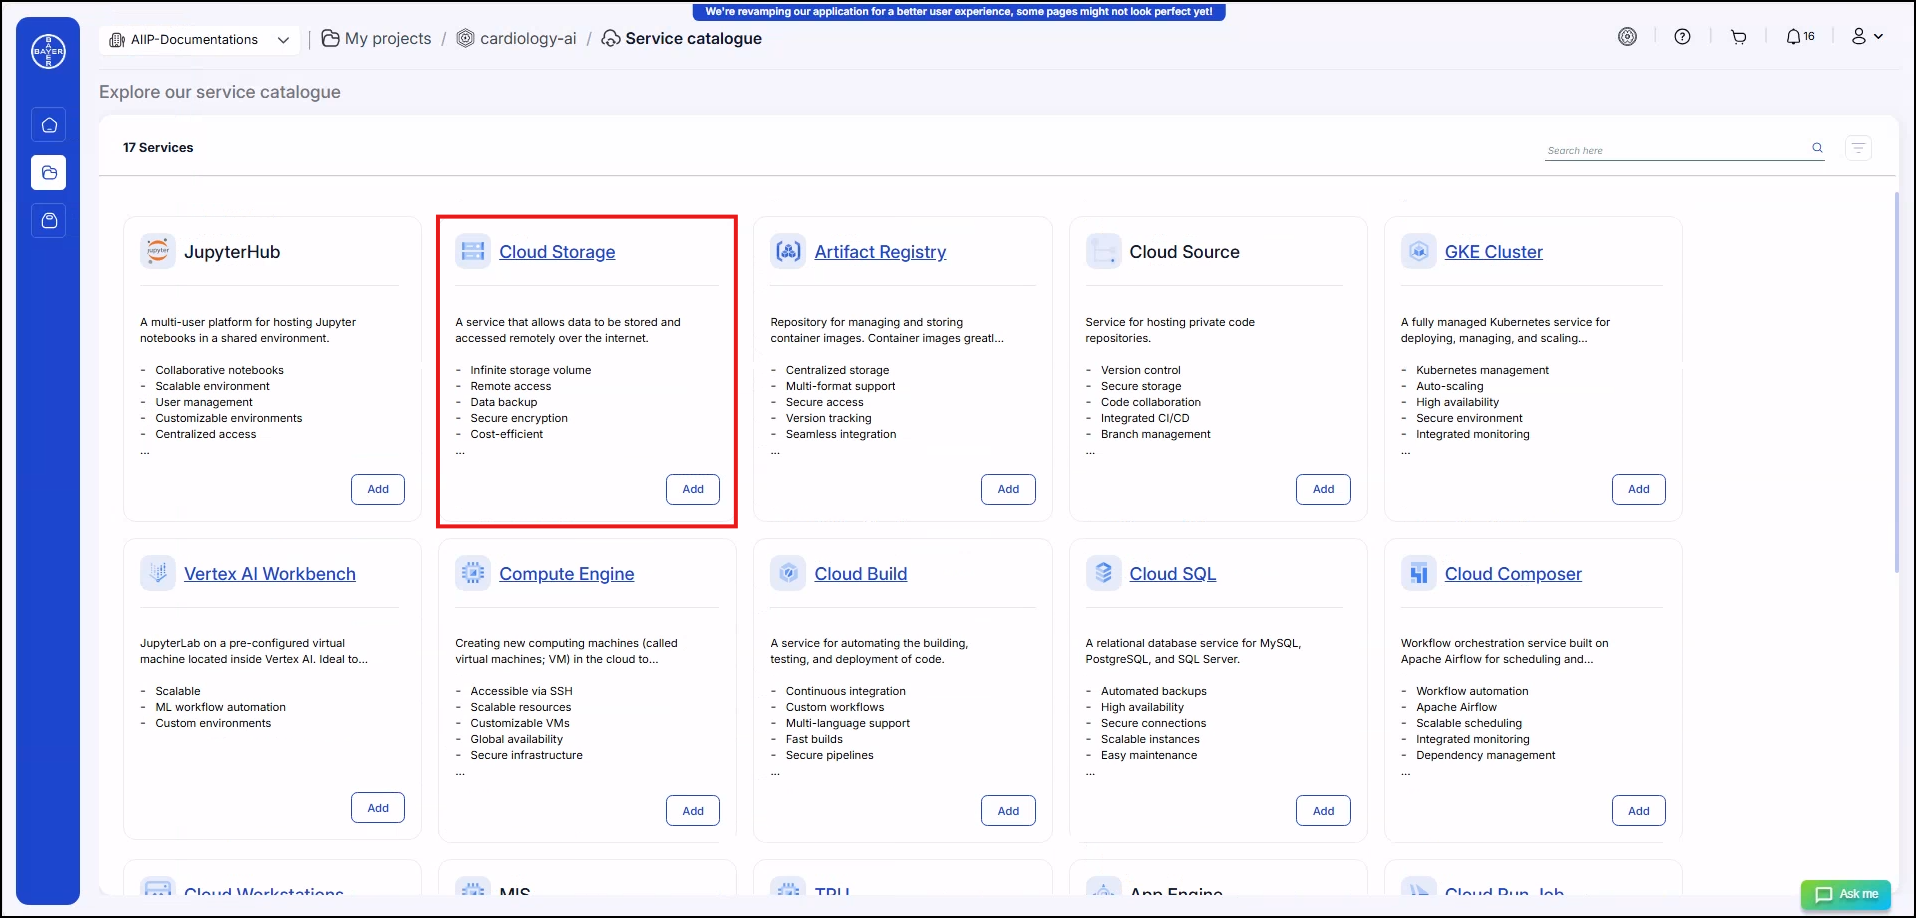
Cloud Storage
A service that allows data to be stored and accessed remotely over the internet. Cloud Storage allows world-wide storage and retrieval of any amount of data at any time. You can use Cloud Storage for a range of scenarios including serving website content, storing data for archival and disaster recovery.
- Infinite storage volume
- Remote access
- Data backup
- Secure encryption
- Cost-efficient
- Sync across devices
- Collaboration support
Cloud Storage Parameters
| Parameter | Description | Mandatory |
|---|---|---|
| Bucket Name | Name of the Cloud Storage bucket | Yes |
| Region | Region where the storage bucket will be located | Yes |
| Storage Class | Type of storage class (e.g., STANDARD, NEARLINE, COLDLINE, ARCHIVE) | Yes |
| GCS Lifecycle | Lifecycle management policies for the bucket | Yes |
| Customer-managed encryption key (CMEK) | Encryption key managed by the customer | No |
Bucket Name
Bucket names are globally unique and once created cannot be updated. We follow ${USER_DEFINED_SERVICE_NAME}-${RANDOM_ID}naming convention for all the buckets created from Service Catalogues. For more details please refer official documentation ⧉.
Region
Currently service catalogues support provisioning of regional buckets which are optimal w.r.t regional workloads. In case the use case demands to have multi-regional buckets to be created, the user will have access to the Google Cloud Storage console for creating the buckets.
To understand what suits better for your usecase please refer location considerations ⧉ and location recommendation ⧉
Storage Class
You can select one of the below storage class while provisioning the buckets:
| Storage Class | Monthly Availability | Minimum Storage Duration | Retrieval Fees | Best For? |
|---|---|---|---|---|
| STANDARD | 99.99% in regions | None | None | Frequently accessed ("hot" data) |
| NEARLINE | 99.9% in regions | 30 days | Yes | Highly durable storage service for storing infrequently accessed data |
| COLDLINE | 99.9% in regions | 90 days | Yes | Highly durable storage service for infrequently accessed data with slightly lower availability |
| ARCHIVE | 99.9% in regions | 365 days | Yes | Highly durable storage service for data archiving, online backup, and disaster recovery |
To learn more about storage classes visit official documentation ⧉
Default Lifecycle policy
The Lifecycle Policy can be applied during creation of the buckets. By default the following policy is applied to the buckets created from Service Catalogues.
| Action | Object condition | __ |
|---|---|---|
| Set to Nearline | 30+ days since object was created Storage Class matches Standard | |
| Set to Coldline | 90+ days since object was created Storage Class matches Nearline | |
| Set to Archive | 365+ days since object was created Storage Class matches Coldline | |
| Delete object | 730+ days since object was created Storage Class matches Archive |
Note: The above is added as standard policy to ensure data lifecycle optimization. Users have access to update the policies according to their requirement. Refer the official documentation ⧉ for learning more about lifecycle policies.
Customer-managed encryption key (CMEK)
Cloud Storage always encrypts your data on the server side, before it is written to disk, at no additional charge. By default Google Managed Encryption is used. To increase data security we recommend to use Customer managed encryption keys for data sensitive workloads as server side encryption.
Note: Client-side encryption: encryption that occurs before data is sent to Cloud Storage. Such data arrives at Cloud Storage already encrypted but also undergoes server-side encryption.
Default Configurations
Bucket Settings:
-
Versioning Enabled: This feature will be enabled to keep a history of all object versions in the bucket. It allows you to recover objects that are overwritten or deleted, adding an extra layer of data protection.
-
Uniform Bucket-Level Access: We will enforce uniform bucket-level access (
uniform_bucket_level_access = true), meaning all access control will be managed at the bucket level rather than at the individual object level. This simplifies access management and improves security.
References:
Cloud Storage Overview ⧉
Discover Object Storage Gcloud Commands ⧉
Compute Engine
Creating new computing machines (called virtual machines or VMs) in the cloud to preprocess data, develop code, host smaller apps with a web frontend (e.g. tensor board, custom image viewer etc) and so on.
Google Compute Engine allows you to create and run virtual machines (VMs) on Google’s powerful infrastructure. Think of a virtual machine as a computer that runs entirely in the cloud—there’s no need to buy or maintain any physical hardware. You can start with just one virtual machine or scale up to thousands, depending on your needs. The best part? You only pay for what you use, with no upfront costs.
- Accessible via SSH
- Scalable resources
- Customizable VMs
- Global availability
- Secure infrastructure
- Automated backups
Compute Engine Parameters
| Parameter | Description | Mandatory |
|---|---|---|
| Instance Name | Name of the virtual machine | Yes |
| Region | Region where the VM will be deployed | Yes |
| Zone | Zone within the selected region | Yes |
| GPU Type | Type of GPU attached to the VM | Yes |
| GPU Count | Number of GPUs attached to the VM | Yes |
| Machine Type | Type of machine instance | Yes |
| Boot Disk Image | Image used for the boot disk | Yes |
| Boot Disk Size | Size of the boot disk (in GB) | Yes |
| Boot Disk Type | Type of boot disk (e.g., SSD, HDD) | Yes |
| Customer-managed encryption key (CMEK) | Encryption key managed by the customer | No |
| Service Account | Service account associated with the VM | No |
GCP:
- Users can access the instances by SSH'ing to the instances either via Browser SSH by clicking the
SSHbutton available on the compute vm console or gcloud SDK. - Users can use IAP desktop or IAP tunnel to access their VMs.
For more details and steps to login refer Different ways to connect to GCP Projects section.
Default Configurations
Network Tags: - allow-iap: This network tag ensures that Identity-Aware Proxy (IAP) is enabled, which helps secure your VM instances by requiring authentication and authorization before access. It is required to SSH into the instance. If not applied, the instance will not allow SSH traffic.
Metadata: - install-nvidia-driver: Automatically installs NVIDIA drivers if GPU support is needed for the VM, ensuring optimized GPU performance.
Default Settings:
Several default settings are applied to ensure the VMs are secure, manageable, and meet operational standards:
- VM with Internal IP Only: By default, the VM is configured with an internal IP, providing connectivity within the VPC network while keeping the instance isolated from public internet traffic.
- Service Account: Each VM instance is automatically attached to a service account, which provides the necessary permissions to access Google Cloud resources securely. If service account parameter is blank while provisioning instance it will use custom service account created by the platform. In case of user provides an existing service account of their choice that service account is used.
-
KMS Key Integration: The VM is integrated with Cloud KMS (Key Management Service) to encrypt sensitive data and ensure secure handling of any confidential information.
-
Machine Configurations: While we are working on introducing more machine configurations for compute instances, users can still opt for a different configuration by provisioning the services with basic configurations from our platform and editing the instance configuration from GCP compute engine section.
Compliance requirements for Compute Engine configurations: - Ensure that no external IP is attached to the instances. Raise exceptions with support team if any requirements. - It is recommended to use CMEK or customer supplied encryptions for disks when working with regulated projects. - Ensure effective labels are not modified on the instances
References:
Edit Compute Engine Machine Type ⧉
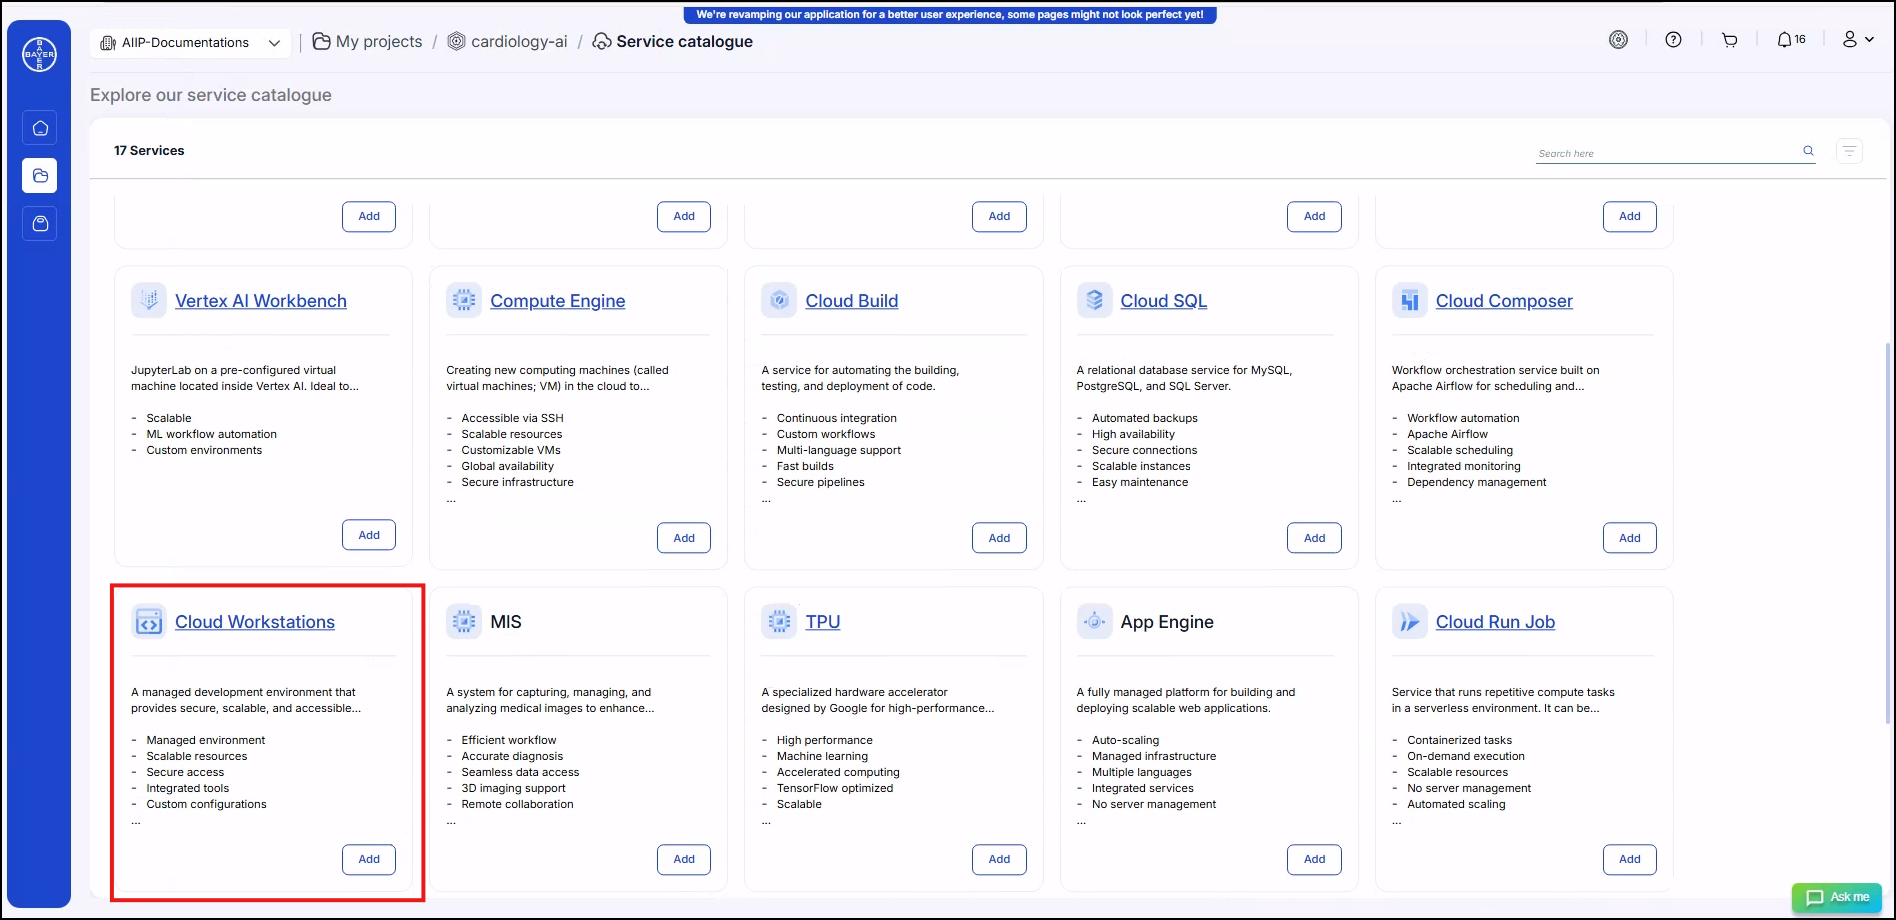
Cloud Workstation
A managed development environment that provides secure, scalable and accessible virtual desktops for coding. Cloud Workstations provides preconfigured, customizable and secure managed development environments on Google Cloud. Cloud Workstations is accessible through a browser-based IDE, from multiple local code editors (such as IntelliJ IDEA Ultimate or VS Code), or through SSH. Instead of manually setting up development environments, we can create a workstation configuration specifying environment in a reproducible way
- Managed environment
- Scalable resources
- Secure access
- Integrated tools
- Custom configurations
- Remote development
- Collaborative features
Cloud Workstation Parameters
| Parameter | Description | Mandatory |
|---|---|---|
| Instance Name | Name of the Cloud Workstations instance | Yes |
| Region | Region where the instance is located | Yes |
| GPU Type | Type of GPU attached to the instance | Yes |
| GPU Count | Number of GPUs assigned | Yes |
| Machine Type | Type of machine instance | Yes |
| Boot Disk Image | Image used for the boot disk | Yes |
| Boot Disk Size | Size of the boot disk (in GB) | Yes |
| Boot Disk Type | Type of boot disk (e.g., SSD, HDD) | Yes |
| Customer-managed encryption key (CMEK) | Encryption key managed by the customer | No |
| Service Account | Service account associated with the instance | No |
References:
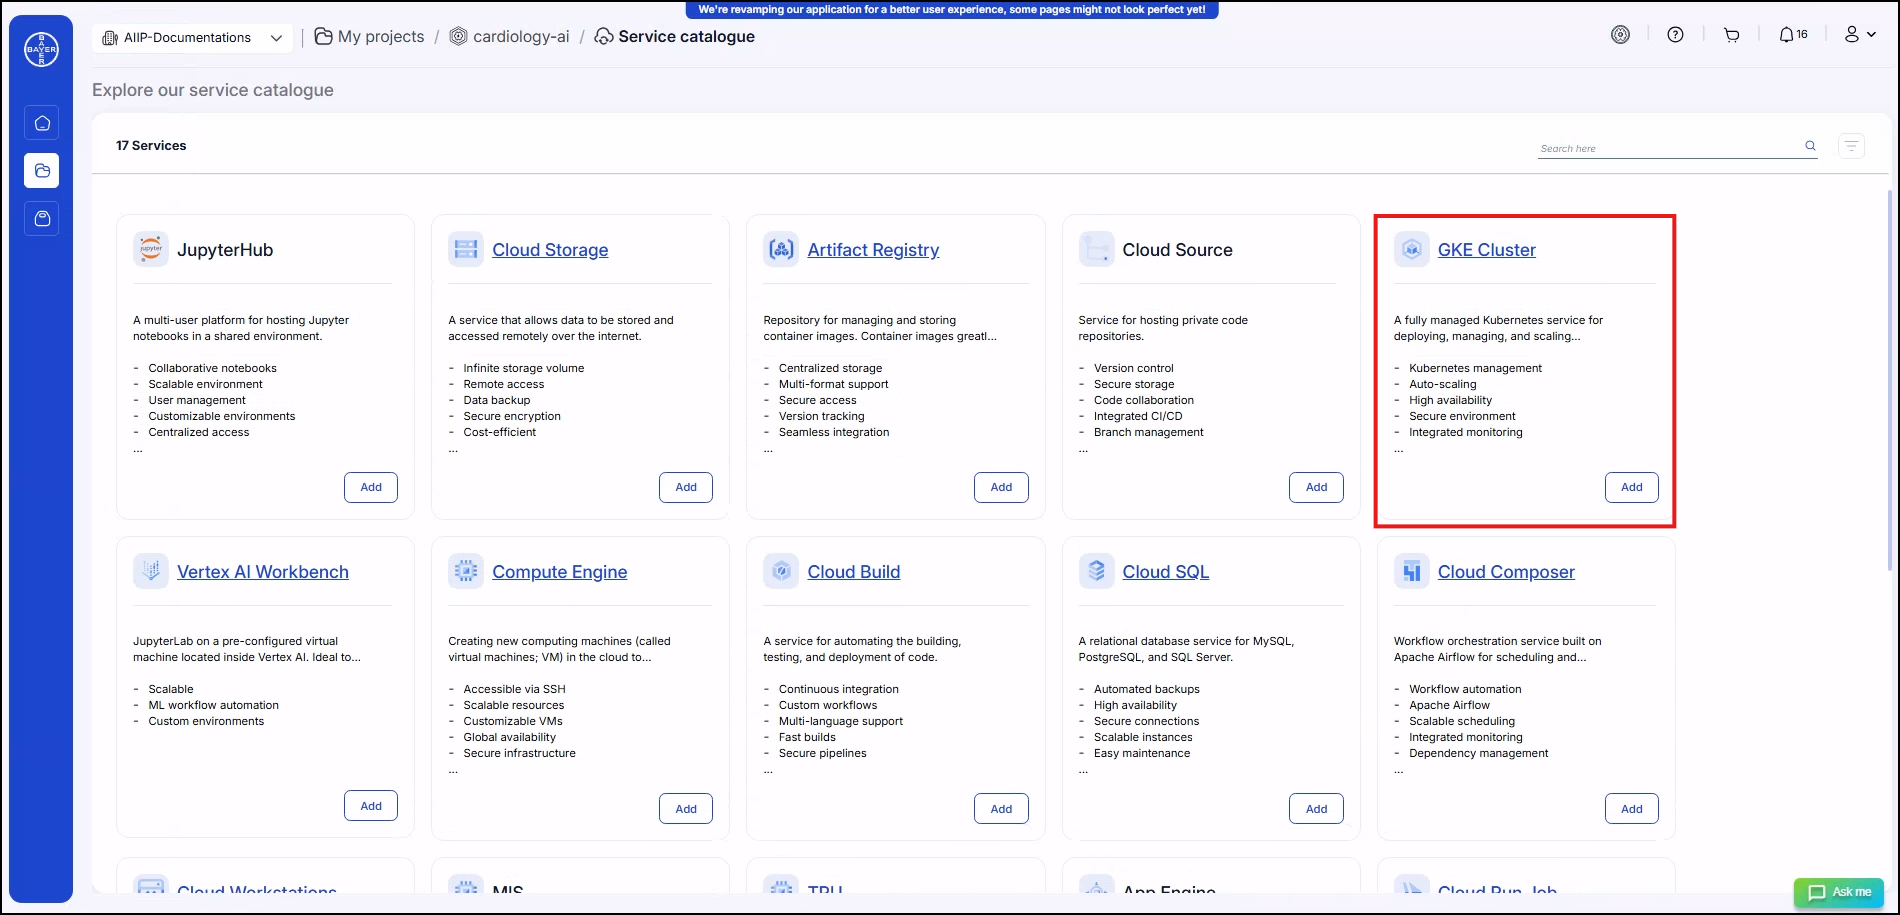
GKE Cluster
Google Kubernetes Engine (GKE) is a fully managed Kubernetes service for deploying, managing and scaling containerized applications. Kubernetes, the leading container orchestration platform, automates the deployment, scaling and operation of application containers across clusters of hosts. With GKE, you can benefit from Google Cloud’s security, reliability and scalability while focusing on your applications without managing the underlying infrastructure.
- Kubernetes management
- Auto-scaling
- High availability
- Secure environment
- Integrated monitoring
- Easy upgrades
- Custom configurations
GKE Parameters
| Parameter | Description | Mandatory |
|---|---|---|
| GKE Cluster Name | Name of the GKE Cluster | Yes |
| Region | Region where the GKE Cluster is located | Yes |
| Customer-managed encryption key (CMEK) | Encryption key managed by the customer | No |
| Service Account | Service account associated with the GKE Cluster | No |
| IP Range Pods | IP range for the pods in the cluster | No |
| IP Range Services | IP range for the services in the cluster | No |
| Auto Scaling | Auto scaling configuration for the cluster | No |
| Primary Node Pool Name | Name of the primary node pool | Yes |
| Primary Node Pool Minimum Count | Minimum number of nodes in the primary node pool | Yes |
| Primary Node Pool Maximum Count | Maximum number of nodes in the primary node pool | No |
| Primary Node Pool Machine Type | Type of machine instances in the primary node pool | No |
| Enable Extra Node Pool | Whether to enable an extra node pool | No |
| Secondary Node Pool Name | Name of the secondary node pool | No |
| Secondary Node Pool Minimum Count | Minimum number of nodes in the secondary node pool | No |
| Secondary Node Pool Maximum Count | Maximum number of nodes in the secondary node pool | No |
| Secondary Node Pool Machine Type | Type of machine instances in the secondary node pool | No |
Default Configurations
-
Labels:
- cluster_name: A label used to identify the GKE cluster, making it easier to organize and manage multiple clusters within your environment.
- node_pool: This label tracks the specific node pool to which the nodes belong, providing better visibility and management over different node pools.
-
Master IPv4 CIDR Block:
- master_ipv4_cidr_block: Specifies the IP range in CIDR notation for the GKE master network. This helps in defining network isolation for the GKE master nodes.
-
Horizontal Pod Autoscaling:
- horizontal_pod_autoscaling: This configuration enables horizontal pod autoscaling in the GKE cluster, allowing pods to scale automatically based on CPU usage or other metrics. The default is true to optimize resource utilization.
-
Maintenance Recurrence:
- maintenance_recurrence: Defines the frequency of the recurring maintenance window in RFC5545 format. This helps automate regular cluster maintenance like patching and updates.
-
Remove Default Node Pool:
- remove_default_node_pool: If set to true, this will remove the default node pool during cluster setup, allowing for custom node pool configurations.
-
Node Pools Labels:
- node_pools_labels: A map of maps that allows you to specify custom labels for nodes in different node pools, enhancing node management and classification.
-
Google Compute Engine Persistent Disk CSI Driver:
- gce_pd_csi_driver: Enables the Google Compute Engine Persistent Disk Container Storage Interface (CSI) Driver. This allows Kubernetes workloads to dynamically provision and manage persistent disks. By default, this feature is enabled.
-
Identity Namespace:
- identity_namespace: Specifies the workload pool for attaching Kubernetes service accounts. The default value is set to enabled, automatically configuring the project-based pool (
[project_id].svc.id.goog), improving security and access control.
- identity_namespace: Specifies the workload pool for attaching Kubernetes service accounts. The default value is set to enabled, automatically configuring the project-based pool (
References:
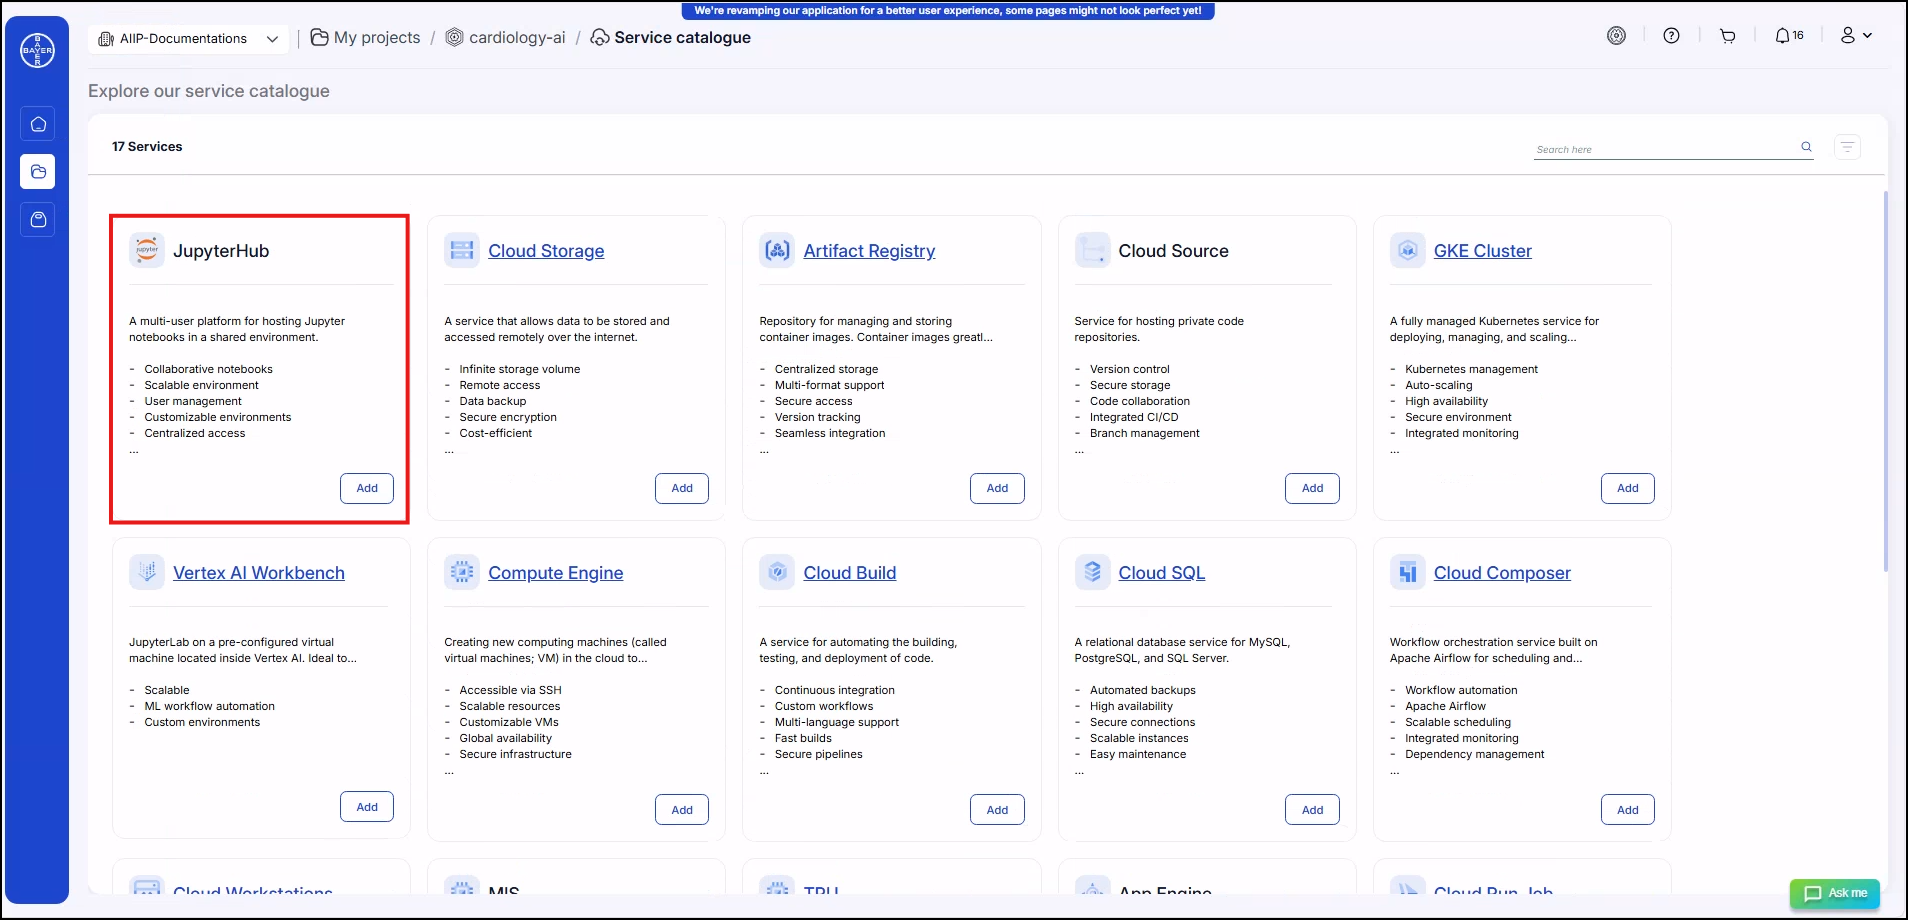
JupyterHub
A multi-user platform for hosting Jupyter notebooks in a shared environment. A customized solution that provides JupyterLab experience which give user isolation. Recommended for sharing single instance with multiple users for collaboration.
- Collaborative notebooks
- Scalable environment
- User management
- Customizable environments
- Centralized access
- Secure authentication
- Resource sharing
JupyterHub Parameters
| Parameter | Description | Mandatory |
|---|---|---|
| Instance Name | Name of the virtual machine | Yes |
| Region | Region where the VM will be deployed | Yes |
| Zone | Zone within the selected region | Yes |
| GPU Type | Type of GPU attached to the VM | Yes |
| GPU Count | Number of GPUs attached to the VM | Yes |
| Machine Type | Type of machine instance | Yes |
| Boot Disk Image | Image used for the boot disk | Yes |
| Boot Disk Size | Size of the boot disk (in GB) | Yes |
| Boot Disk Type | Type of boot disk (e.g., SSD, HDD) | Yes |
| Customer-managed encryption key (CMEK) | Encryption key managed by the customer | No |
| Service Account | Service account associated with the VM | No |
Default Configurations
-
Network Tags: The following tags are applied to enable necessary functionality for the JupyterHub service:
- allow-health-checks: Ensures health checks are allowed for monitoring the service.
- allow-iap: Enables Identity-Aware Proxy (IAP) for secure access.
-
Startup Script:
A custom startup script is used to configure JupyterHub with the necessary user settings and URLs. Key parameters include:
-
user_list: List of users with access.
-
user_email: Email of the requesting user. By adding the users in this list, the users will be able to add the users on JupyterHub Notebook.
-
admin_email: Email of the JupyterHub admin. This will give admin level permission for the users on JupyterHub service. Please modify this list responsibly.
Note: Users of the instance will be responsible for managing the user access to the notebooks and are advised to share the notebooks with registered users only.
-
-
Custom Metadata:
-
custom-proxy-url: This metadata key stores the link to the notebook URL hosting the JupyterHub server. This value will be referred to as
CUSTOM_PROXY_URLhenceforth. -
startup-script: This metadata key stores the startup script used for the JupyterHub as described above.
-
install-nvidia-driver: This ensures the installation of nvidia-drivers into the instances if GPUs attached. In case of user facing any issues with the Nvidia drivers, reach out to our support team via feedback tool.
-
-
Proxy URLs:
- Each JupyterHub instances have been configured to host custom services on proxy ports. Ports
8002-8006are enabled for hosting the services. Please ensure that the services hosted are authenticated for better security. - The service loadbalancers will be attached to the cloud armor policies.
- Naming convention of the URL:
$CUSTOM_PROXY_URL/$INSTANCE_NAME/proxy/{8002-8006}where CUSTOM_PROXY_URL which is defined in custom metadata.
- Each JupyterHub instances have been configured to host custom services on proxy ports. Ports
-
Load Balancers:
- Each services are hosted behind a loadbalancer which follows same name as instance/service deployed. You can view the load balancers in GCP console under
Data Security Guidelines:
Our platform is committed to ensuring the security of your data within the project environment. However, it is user responsibility to maintain the confidentiality of your data and prevent it from being shared outside of the project.
- Do not share your Jupyter Notebooks with anyone outside of the project.
- Do not store your data outside of the project resources created. This includes sharing them online, on personal devices, or through any other means.
- Be mindful of the information you include in your notebooks. Avoid storing sensitive data, such as passwords or personal information, directly within the notebooks.
Note: By using this platform, you agree to be responsible for the security of your data and to comply with these guidelines.
If you have any questions or concerns about data security, please contact our support team.
Visit our Developer Hub for learning tools and tips for working with Notebooks.
References:
MIS
The Medical Imaging Suite (MIS) is a comprehensive system for capturing, managing and analyzing medical images to enhance diagnostic accuracy.
- Efficient workflow
- Accurate diagnosis
- Seamless data access
- 3D imaging support
- Remote collaboration
- EHR integration
MIS Parameters
| Parameter | Description | Mandatory |
|---|---|---|
| Instance Name | Name of the MIS instance | Yes |
| Region | Region where the instance is located | Yes |
| Zone | Zone within the selected region | Yes |
| GPU Type | Type of GPU attached to the instance | Yes |
| GPU Count | Number of GPUs attached | Yes |
| Machine Type | Type of machine instance | Yes |
| Boot Disk Image | Image used for the boot disk | Yes |
| Boot Disk Size | Size of the boot disk (in GB) | Yes |
| Boot Disk Type | Type of boot disk (e.g., SSD, HDD) | Yes |
| Customer-managed encryption key (CMEK) | Encryption key managed by the customer | No |
| Service Account | Service account associated with the instance | No |
As MIS is a version of JupyterHub, all the configurations of JupyterHub service is applicable for MIS.
Default Configurations
-
Tags:
The following tags are applied to enable necessary functionality for the JupyterHub service: - allow-health-checks: Ensures health checks are allowed for monitoring the service. - allow-iap: Enables Identity-Aware Proxy (IAP) for secure access.
-
Startup Script:
A custom startup script is used to configure JupyterHub with the necessary user settings and URLs. Key parameters include: - user_list: List of users with access.
-
user_email: Email of the requesting user. By adding the users in this list, the users will be able to add the users on JupyterHub Notebook.
-
admin_email: Email of the JupyterHub admin. This will give admin level permission for the users on JupyterHub service. Please modify this list responsibly.
Note: Users of the instance will be responsible for managing the user access to the notebooks and are advised to share the notebooks with registered users only.
-
-
Custom Metadata:
-
custom-proxy-url: This metadata key stores the link to the notebook URL hosting the JupyterHub server.
-
startup-script: This metadata key stores the startup script used for the JupyterHub as described above.
-
install-nvidia-driver: This ensures the installation of nvidia-drivers into the instances if GPUs attached. In case of user facing any issues with the Nvidia drivers, reach out to our support team via feedback tool.
-
References:
3D Slicer
The is a swiss army knife of medical imaging research. It can load, visualize and analyze various file formats and data modalities. Further, it is continuously developed by the research community. The extension manager contains more than 150 extensions. 3D Slicer is an open-source software platform for medical image informatics, image processing and three-dimensional visualization. In GCP, it can be deployed as part of custom computing or visualization solutions to support medical and scientific research. GCP provides the infrastructure to host and process 3D Slicer workloads.
- Medical imaging
- 3D visualization
- Open-source
- Multi-modality support
- Advanced analytics
- Interactive tools
- Extensible modules
3D Slicer Parameters
| Parameter | Description | Mandatory |
|---|---|---|
| VM Name | Name of the virtual machine | Yes |
| Region | Region where the VM will be deployed | Yes |
| Zone | Zone within the selected region | Yes |
| GPU Type | Type of GPU attached to the VM | Yes |
| GPU Count | Number of GPUs attached to the VM | Yes |
| Machine Type | Type of machine instance | Yes |
| Disk Name | Name of the VM disk | Yes |
| Boot Disk Image | Image used for the boot disk | Yes |
| Boot Disk Size | Size of the boot disk (in GB) | Yes |
| Boot Disk Type | Type of boot disk (e.g., SSD, HDD) | Yes |
| Customer-managed encryption key (CMEK) | Encryption key managed by the customer | No |
| Service Account | Service account associated with the VM | No |
Access 3D Slicer
3D Slicer service is deployed as a Desktop service. To access the application, we need to RDP into the Windows Desktop on GCP and use the application. This can be accessed using IAP Desktop as mentioned here.
Default Configurations
-
Mount Folder:
- mount_folder: The folder where the service's data will be mounted is specified. By default, this is set to
D:/, but it can be customized based on your requirements. Read how to mount GCS buckets to Windows Instances here. - KMS Key for Disk Encryption: The service will support encryption using a Key Management Service (KMS) key. The KMS key’s self-link can be specified for secure data encryption (
kms_key_self_link). If no key is provided, a default configuration will be used.
- mount_folder: The folder where the service's data will be mounted is specified. By default, this is set to
-
Tags:
- allow-iap: This tag enables Identity-Aware Proxy (IAP), providing secure access to the 3D Slicer service, allowing only authorized users to connect.
References:
TPU
A specialized hardware accelerator designed by Google for high-performance machine learning tasks. Tensor Processing Units (TPUs) are Google's custom-developed application-specific integrated circuits (ASICs) used to accelerate machine learning workloads. Cloud TPUs allow you to access TPUs from Compute Engine, Google Kubernetes Engine and Vertex AI.
- High performance
- Machine learning
- Accelerated computing
- TensorFlow optimized
- Scalable
- Low latency
- Cost-efficient
TPU VM Parameters
| Parameter | Description | Mandatory |
|---|---|---|
| VM Name | Name of the TPU virtual machine | Yes |
| Region | Region where the TPU VM is located | Yes |
| Zone | Zone within the selected region | Yes |
| Accelerator Type | Type of TPU accelerator | Yes |
| Runtime Version | Version of the TPU runtime | Yes |
| TPU VM Type | Type of TPU VM | No |
| Customer-managed encryption key (CMEK) | Encryption key managed by the customer | No |
| Service Account | Service account associated with the TPU VM | No |
Default Configurations
-
Tags:
- allow-iap: Enables secure access to your TPU instance using Identity-Aware Proxy (IAP), ensuring controlled access.
-
Private Instance:
- By default no public IP is attached to the TPU instance to ensure instance is not accessible over the network.
References:
Vertex AI Workbench
This is a JupyterLab on a pre-configured virtual machine located inside Vertex AI. Ideal to get started within a few minutes right from the browser. Vertex AI Workbench is a tool provided by Google Cloud for developers and data scientists working to build machine learning models. It’s based on Jupyter notebooks, which are interactive documents that allow you to write code, run it and see the results, all in one place. Think of it as a workspace for data scientists and engineers to do their job easily. You can use Vertex AI Workbench to access various Google Cloud services, making it easier to build and deploy machine learning models without leaving the notebook environment.
- Scalable
- ML workflow automation
- Custom environments
Vertex AI Workbench Parameters
| Parameter | Description | Mandatory |
|---|---|---|
| VM Name | Name of the Vertex AI Workbench virtual machine | Yes |
| Region | Region where the Vertex AI WorkbenchVM is located | Yes |
| Zone | Zone within the selected region | Yes |
| GPU Type | Type of Vertex AI Workbench GPU | Yes |
| GPU Count | Count of GPU | Yes |
| Machine Type | Type of Vertex AI Workbench machine | Yes |
| Boot Disk Size | Size of the boot disk | Yes |
| Boot Disk Type | Type of the boot disk | Yes |
| Customer-managed encryption key (CMEK) | Encryption key managed by the customer | No |
| Service Account | Service account associated with the Vertex AI Workbench VM | No |
Default Configurations
Enable Required APIs:
- The necessary APIs (
notebooks.googleapis.com,aiplatform.googleapis.com) for Vertex AI Workbench will be enabled to ensure smooth operation and functionality of the service.
Network and IP Settings:
- Disable Public IP: All the notebooks created by catalogues ensures that public IP access is disabled (
disable public ip = true), so the instance will only be accessible through private networking for enhanced security. - Enable IP Forwarding: IP forwarding will be enabled (
enable ip forwarding = true), allowing the instance to forward packets to other destinations, which can be useful for certain networking scenarios. - Proxy Access: Proxy access will remain enabled (
disable proxy access = false), meaning that proxy services can still be used for accessing the instance if needed.
Network Tags:
-
The following tags will be assigned to the instance to help with identification, access control, and categorization:
- allow-iap: This tag allows access via Identity-Aware Proxy (IAP), which adds an extra layer of security for SSH access.
- deeplearning-vm: This tag indicates that the instance is configured for deep learning workloads.
- notebook-instance: This tag designates the instance as a notebook for development and experimentation.
Visit our Developer Hub for learning tools and tips for working with Notebooks.
References:
SSH into Vertex AI Workbenches ⧉
Common Labels
In this section, we will walk you through the labels applied for all the services created from the Service Catalogues.
-
System Labels :
- controlled-by: Specifies the team or department that controls the resources.
- created-by: Identifies the user or system that created the resources.
- goog-terraform-provisioned: Denotes that the resources was provisioned using Terraform.
- os-patch: Tracks OS patch information relevant to the resources.
-
Workload Specific Labels : These labels will be customized according to your
- contains-phi: Indicates that the resource may store Protected Health Information (PHI), ensuring that the data is treated accordingly.
- data-classification: Marks the sensitivity level of the data stored (e. g., public, internal, restricted, confidential).
Note: Workload Specific labels can be updated according to user workloads. We recommend to not update System labels for traceability. Users can add new labels to their buckets according to their requirements.